

From racing plates to all-rounder: safely transitioning your ex-racehorse to a GP saddle
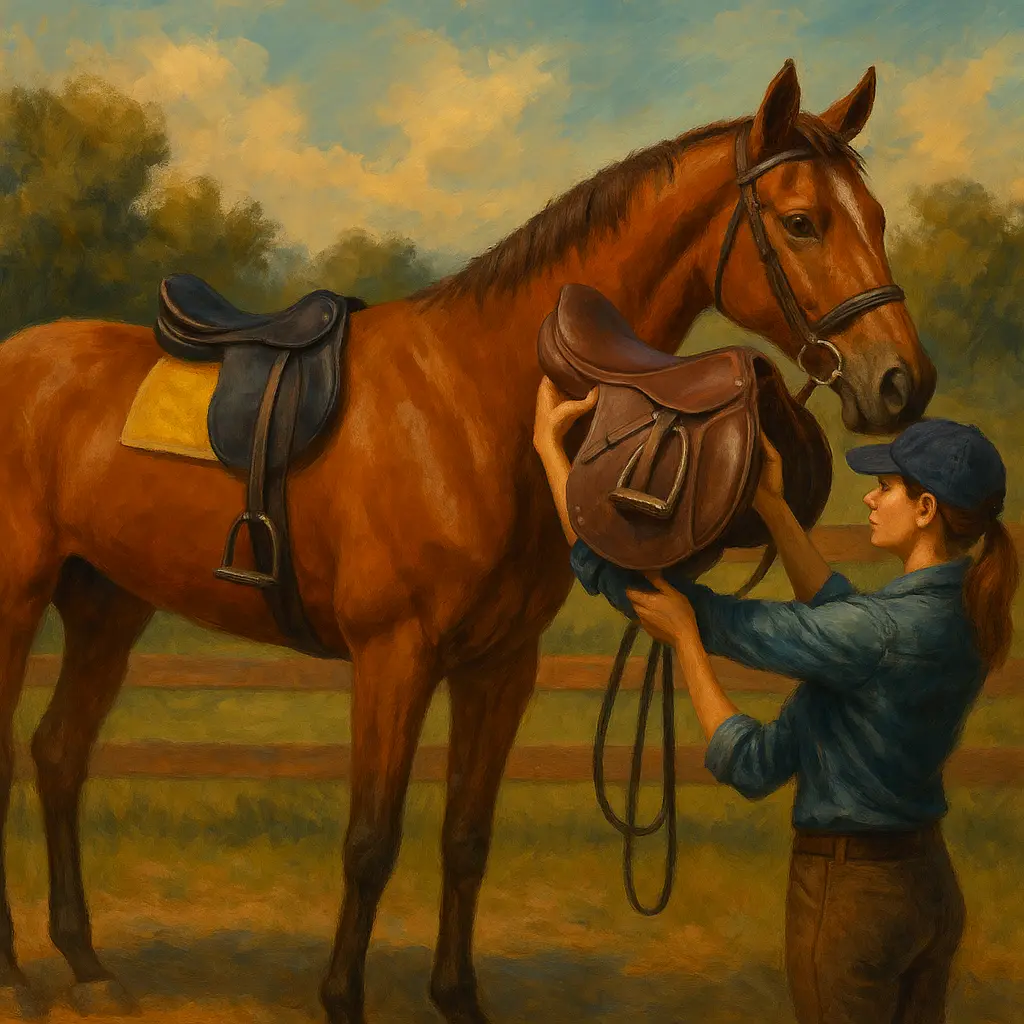
Bringing an ex-racehorse (often called an OTTB) into a new life is a brilliant adventure, but it’s also a change that asks for patience, professional support, and a steady plan. One of the biggest early shifts is moving from the minimalist racing set-up to a general purpose (GP) saddle—comfortably, confidently, and without drama. The right approach builds on your horse’s athletic background while allowing time for body changes and new muscle to develop, setting you both up for calm, capable work in the school, over small fences, or out hacking ([1], [5]).
In this guide, we’ll walk you through the key differences between racing tack and a GP saddle, how to assess your horse before making changes, what to look for with a professional saddle fitter, and a week-by-week introduction plan that keeps your horse relaxed and learning. We’ll also help you spot early warning signs that a saddle isn’t quite right, and how to fine-tune as your OTTB’s back and topline develop ([1], [3], [5]).
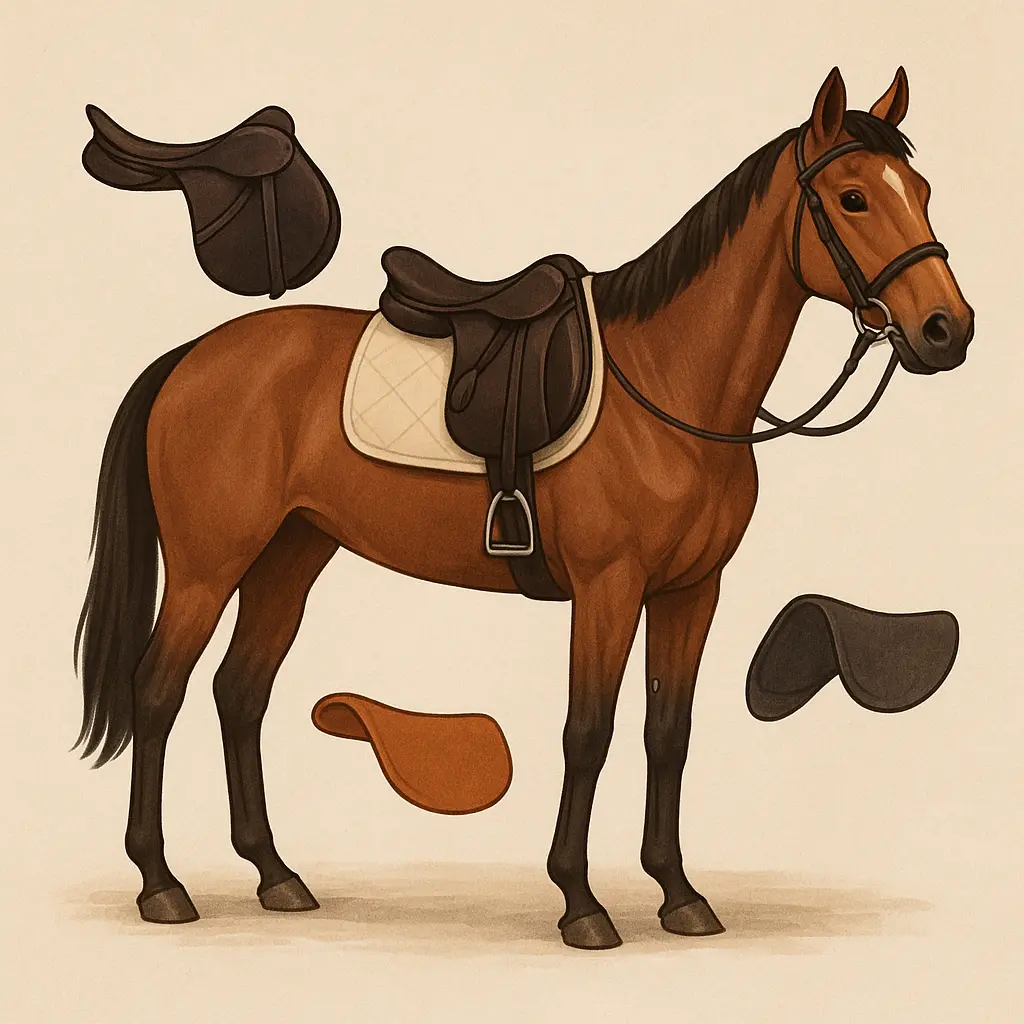
Racing tack vs GP saddles: what changes and why it matters
Racing saddles are ultra-light, flat, and minimal—purpose-built for speed. They tend to have short flaps, little to no flocking, and a narrow tree, sitting high on the withers to free up the shoulders for long, low galloping strides. Think streamlined and featherweight—quite literally, with some racing saddles coming in around 1–2 lbs from brands like Feather-Weight or Stride Free ([3], [6]).
A GP saddle is designed for versatility and stability. You’ll notice a deeper seat, longer flaps, and more padding, making it suitable for flatwork, light jumping, and everyday riding. The tree is typically wider, and the panels are often wool-flocked to support developing musculature—especially helpful for ex-racehorses who can arrive with a lean physique and limited topline after their time on the track ([1], [3]).
Two extra points to bear in mind with many Thoroughbreds: some present with a slightly rotated pelvis from track work, which can make bending and strike-off a bit tricky at first, and their backs tend to be “close to the skin”, meaning any pressure points show up quickly if the saddle doesn’t sit just right. Both reasons to take fitting slowly and seriously ([1], [3]).
Step 1: assess your horse before any tack changes
Before you shop or shim, start by understanding the horse in front of you. A thorough baseline check helps ensure any resistance under saddle isn’t just discomfort talking ([1], [4]).
Book a vet and physio check
Have your vet and a qualified physio look your horse over to rule out back pain, muscle atrophy, or other physical issues that could make a new saddle feel uncomfortable or unfair. Pelvic asymmetry can also be a factor for ex-racers; targeted physio alongside correct saddling often improves this over time ([1]).
Body score, weigh, and give them time
Ex-racehorses often need a period of simple turnout to decompress, adjust to their new life, and start building topline again. Many benefit from 4–6 weeks of turnout to settle and regain muscle; this is a phase, not a setback ([2], [5]). A total rest and settling period of 2–11 weeks is common; during this time, gentle groundwork and lunging can start to lay foundations without the weight of a rider ([4], [5]).
Chiro and farrier input
Farriery and bodywork go hand-in-hand with saddle fit. Uneven feet or discomfort can encourage a dropped or tense back, which then makes saddle fitting more difficult and unfair on the horse. Addressing balance and comfort first means the saddle has a chance to sit where it belongs ([3], [4]).
Start with realism (and a simple snaffle)
Many OTTBs arrive with very little tack beyond a straightforward snaffle. That’s fine—simplicity is often best, and it keeps the conversation clear while you build trust and basics in-hand ([1], [4]).
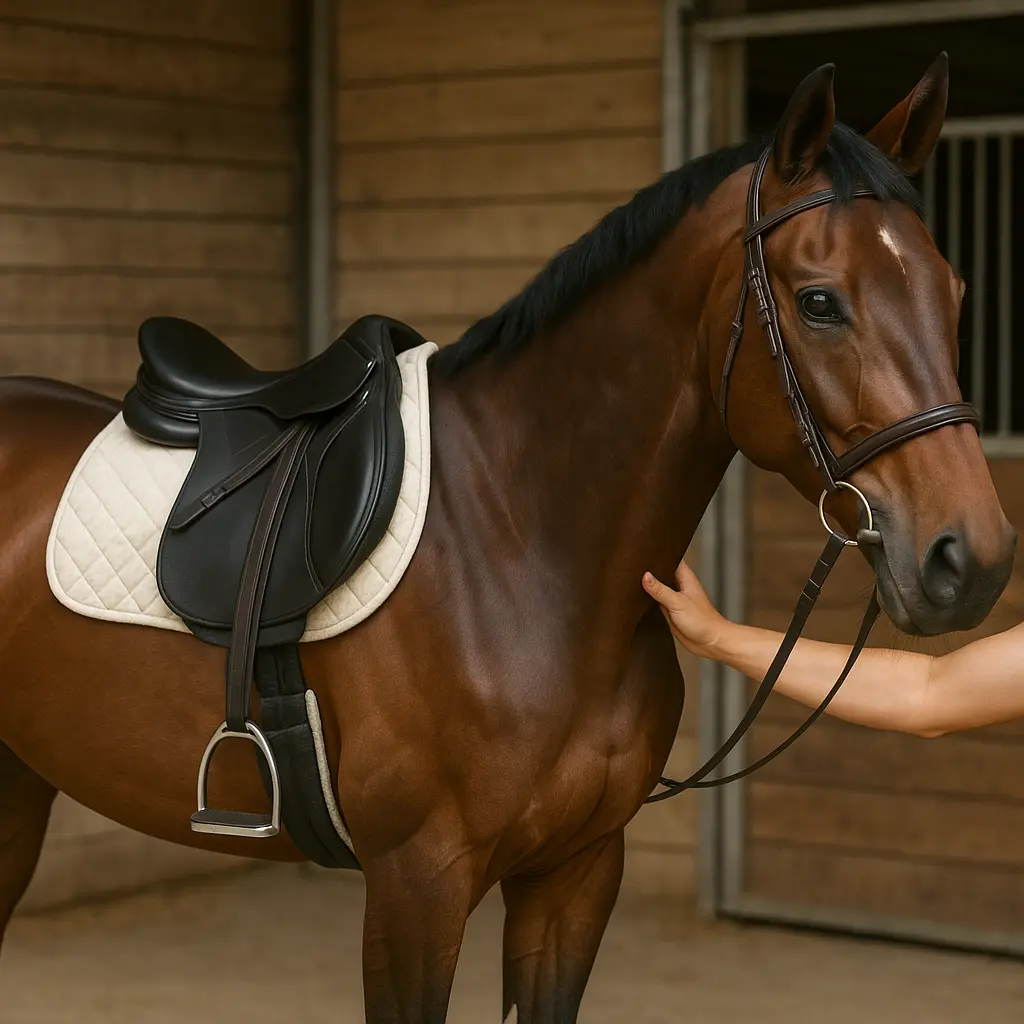
Step 2: choose the right GP saddle (with a saddler by your side)
Now for the kit. A qualified saddler is non-negotiable here. Your ex-racer’s shape will change significantly as their work and muscle development progress, so starting with an adjustable or well-selected second-hand GP saddle is a smart, cost-effective approach ([1], [3]).
Start a little on the wider side with tree width: it’s often kinder for a lean Thoroughbred back and helps prevent pinch and soreness. Combine this with appropriate pads and shims to achieve a close, even contact while leaving space for the back to lift into the work ([3]).
As for panel materials, Thoroughbreds’ structure tends to respond well to wool-flocked panels. Wool conforms and can be adjusted as the back changes, whereas many synthetic fills are less adaptable in those early months ([3]).
Key differences at a glance
| Feature | Racing Saddle | GP Saddle Recommendation for Ex-Racers |
|---|---|---|
| Weight | Ultra-light (1–2 lbs) ([6]) | 8–12 lbs with padding for support ([3]) |
| Tree Width | Narrow for speed | Wider to prevent soreness; shim if needed ([3]) |
| Flaps/Seat | Short, flat | Longer flaps for security; deeper seat for balance ([1]) |
| Flocking | Minimal/none | Wool-flocked for muscle development ([3]) |
Pro tip: fine-tune with shims and the right pad
Shim pads with 1/4-inch sets or a memory foam half-pad can help you adjust balance and absorb shock while the back strengthens. They’re particularly useful in that early “in-between” stage. One Thoroughbred with a sore back improved within a month using shims and a correction pad—going on to event successfully once the back had recovered ([2], [3]). Shock-absorbing half-pads with 3D mesh and adjustable pockets can offer additional micro-adjustments as you progress ([2]).
Step 3: introduce the GP saddle gradually
For a horse who has only ever known a tiny, flat racing saddle, a GP can feel like a sofa arriving uninvited. The aim is to make it a familiar, comfortable addition—introduced over weeks, not a day ([4], [5]). Here’s a calm, practical progression that mirrors the routines many OTTBs already understand, like the feel of a simple snaffle ([1], [5]).
Week 1: groundwork and desensitisation
- Start by placing the GP saddle on during grooming—un-girthed—so the horse feels the weight and bulk without pressure.
- Let them wear it loosely in the stable or paddock under supervision. Many ex-racers adapt quickly if the introduction feels like a normal part of routine care ([2], [5]).
Weeks 1–2: lunge with a loose girth
- Girth up loosely and lunge in walk and trot, keeping sessions short and calm. A neck strap or running martingale can add a layer of safety and familiarity.
- Incorporate a few trot poles to build rhythm and encourage the back to lift, all without the extra weight of a rider ([1], [5]).
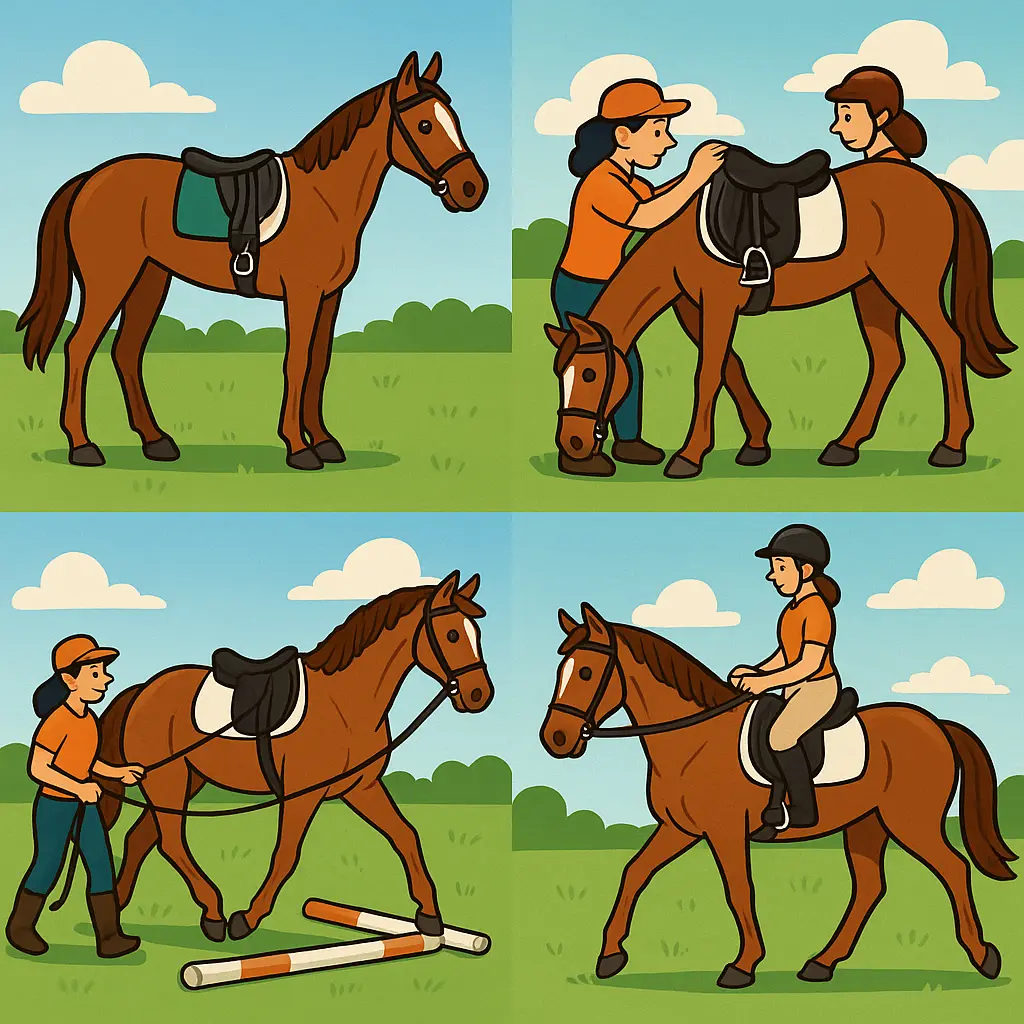
Week 3 and beyond: short, easy rides
- Start with very short sessions—10–15 minutes is plenty initially. If your horse is tense, start bareback or with a thin pad for a day or two before moving to the GP, then progress as they relax ([4]).
- Alternate ridden work with turnout so muscles and mind get a chance to absorb lessons. A fibre-based diet supports relaxation and steady energy during this period ([2]).
- Watch your horse’s face and way of going. Pinned ears, grumpiness when girthing, hollowing, or resistance are all data points that may suggest saddle adjustments are needed ([4]).
And a little myth-busting to keep spirits up: a large majority of ex-racers transition beautifully in simple tack. Around 80% go well in something as straightforward as a French-link snaffle and a cavesson noseband—no need to reach for strong bits or gadgets that can create tension ([1]).
Step 4: monitor fit and adjust as muscles develop
As your OTTB starts working consistently, their back and topline can change surprisingly quickly. That means a saddle that fit well in week one might need a tweak by week six. Plan to re-check fit every 4–6 weeks in the early months ([3]).
Signs your fit needs a rethink
- White hairs or dry spots under the saddle after work.
- Behavioural changes such as tail swishing, ear pinning, hollowing, or bucking when you mount or ask for transitions.
- Saddle slipping to one side, bridging, or rocking in motion ([3], [7]).
Helpful adjustments as you go
- Use shock-absorbing half-pads or correction pads with 3D mesh to reduce pressure and fine-tune balance; opt for adjustable pockets if you need regular micro-tweaks ([2]).
- Stick with the familiar racing snaffle if that’s your horse’s comfort zone, and add a loose cavesson for shows when needed ([1], [7]).
- Keep physio in the loop, especially if there’s a hint of pelvic rotation or unevenness in bend. Balanced, even work plus correct saddle contact usually improves this steadily ([1]).
Fine-tuning really does pay off. One OTTB moved up the leaderboard to take 5th in a major event just days after pad adjustments—testament to how much comfort and confidence influence performance ([3]).
Common pitfalls (and how to dodge them)
- Over-tacking and over-complicating things: It’s tempting to “solve” problems with stronger gear, but simplicity is your friend. Keep tack straightforward so communication stays clear and soft ([1]).
- Rushing the timeline: Retraining from racehorse to riding horse takes months, not days. Think steady habit-building over quick fixes, and celebrate the small wins ([2], [5]).
- Forgoing diet and lifestyle tweaks: A fibre-based diet and consistent turnout help the nervous system settle and support new muscle. Trailer loading practice may also be part of your “new-life” education plan—address it calmly and early ([2], [5]).
Realistic timelines and expectations
Every horse is an individual, but a typical pathway looks something like this:
- First 2–11 weeks: decompress and settle; bodywork and farriery up to date; begin gentle groundwork and lunging as the horse settles ([4], [5]).
- Weeks 1–2 with the GP: groundwork and loose girthing; short, calm lunge sessions with a neck strap or running martingale; incorporate a few trot poles ([1], [5]).
- Week 3+: short rides (10–15 minutes), alternating with turnout; steadily increase duration as relaxation and strength build ([4]).
- Every 4–6 weeks: reassess saddle fit and pads to match developing muscle and topline ([3]).
If you keep sessions positive, give your horse time to adapt, and involve a good saddler, you’re stacking the deck for a confident, comfortable transition to GP work—and a partnership that keeps getting better ([1], [3], [5]).
FAQs
How do I know if my GP saddle is the right width for my ex-racehorse?
Start a touch wider rather than narrow to avoid pinching a lean Thoroughbred back, then use shims or a suitable half-pad to fine-tune balance. Always involve a qualified saddler to confirm tree width and contact across the panels ([3]).
Why is wool flocking recommended?
Thoroughbreds often change shape quickly as their work shifts from racing to schooling. Wool-flocked panels are adjustable and conform well to those changes, helping maintain even pressure and comfort ([3]).
How often should I re-check fit?
Plan a professional check every 4–6 weeks early on. As your horse gains topline, the fit may need subtle adjustments to keep pressure even and the saddle stable ([3]).
What pads work best during the transition?
Shim pads with 1/4-inch sets or a memory foam half-pad are useful for balancing a slightly wide fit while your horse builds muscle. Shock-absorbing half-pads with 3D mesh and adjustable pockets can help fine-tune pressure distribution ([2], [3]).
Do I need a stronger bit to control an ex-racehorse?
Not usually. In fact, a large majority transition well with a simple French-link snaffle and a cavesson. Keeping tack simple avoids creating tension and helps with soft, consistent communication ([1]).
My horse seems tense when I girth up. Is that normal?
It’s a sign to pause and reassess. Check for soreness, ensure the saddle isn’t too narrow, and confirm the girth is even and not over-tight. Behavioural changes like ear pinning or back hollowing can signal a fit issue that needs a saddler’s eye ([3], [7]).
What if my ex-racer has a rotated pelvis?
Work with your physio alongside correct saddle fit. Consistent, balanced schooling with even contact helps the horse use both sides of the body more symmetrically over time ([1]).
Should I buy new or second-hand?
Either can work. Many owners start with an adjustable or well-fitted second-hand GP because the horse’s shape will change as they move away from racing fitness and into a new career. Your saddler can advise on the best option for your horse and budget ([1], [3]).
With a thoughtful introduction, regular checks, and a less-is-more approach to tack, your ex-racehorse can learn to love the feel of a well-fitted GP saddle—and you’ll both enjoy the ride.