
A cheeky, intelligent Welsh Cob at two can go from “no way” to “OK then” with the right approach. The secret isn’t strength — it’s relaxation, desensitisation and calm, consistent handling tailored to UK yard conditions.
Key takeaway: You can fit a headcollar to a nervous 2-year-old Welsh Cob by prioritising relaxation, using a string-to-halter progression, and keeping sessions short and calm — often achieving success within one patient 3-hour session, or over a few short sessions across several days.
Can you headcollar a nervous 2-year-old Welsh Cob in one session?
Yes — many handlers succeed in a single, patient 3-hour desensitisation session, but building lasting trust usually takes a few short sessions over several days. This approach reduces flight responses and prevents setbacks that come from rushing.
A documented case from the Monty Roberts University forum describes a nervous colt who accepted a headcollar after around three hours of careful, stepwise desensitisation, with follow-up sessions consolidating the learning (source). Early groundwork should emphasise relaxation so the horse can think rather than react, a principle echoed by experienced UK young horse producers in Horse & Hound (source).
At Just Horse Riders, we recommend starting in a safe, enclosed space (stable or small catch pen) and planning multiple short sessions rather than one marathon, especially in wet UK weather when footing on grass can be slippery.
Understanding Welsh Cob behaviour at two years old
Welsh Cobs are friendly, highly intelligent and spirited; without confident, patient handling at two, they can appear cheeky or nervous. Their robust, pony-like build belies a quick mind — they learn fast, for better or worse.
The Welsh Section D is renowned for a strong work ethic and characterful presence, typically with a less refined head but unmistakable pony traits. Youngsters can be pushy or wary if they’re uncertain what’s being asked, so clarity and consistency matter. Handled calmly, they repay you with trust and try (Mad Barn breed profile).
In UK yards where round pens aren’t always available, a stable-based “join-up” style approach — using body language to invite attention, reward relaxation, and build tactile acceptance — suits the Cob temperament well. It channels their curiosity and energy into cooperation rather than confrontation.
Step-by-step: from first touch to fitted headcollar
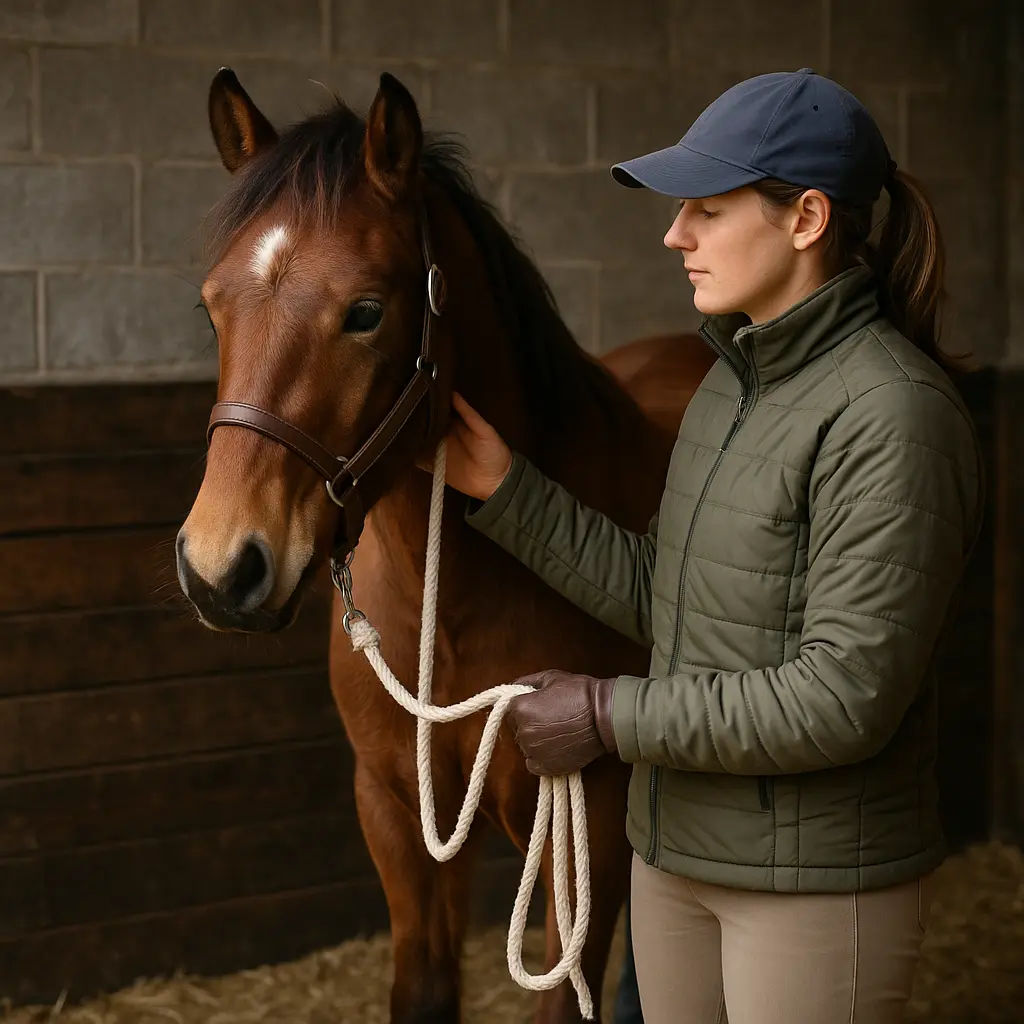
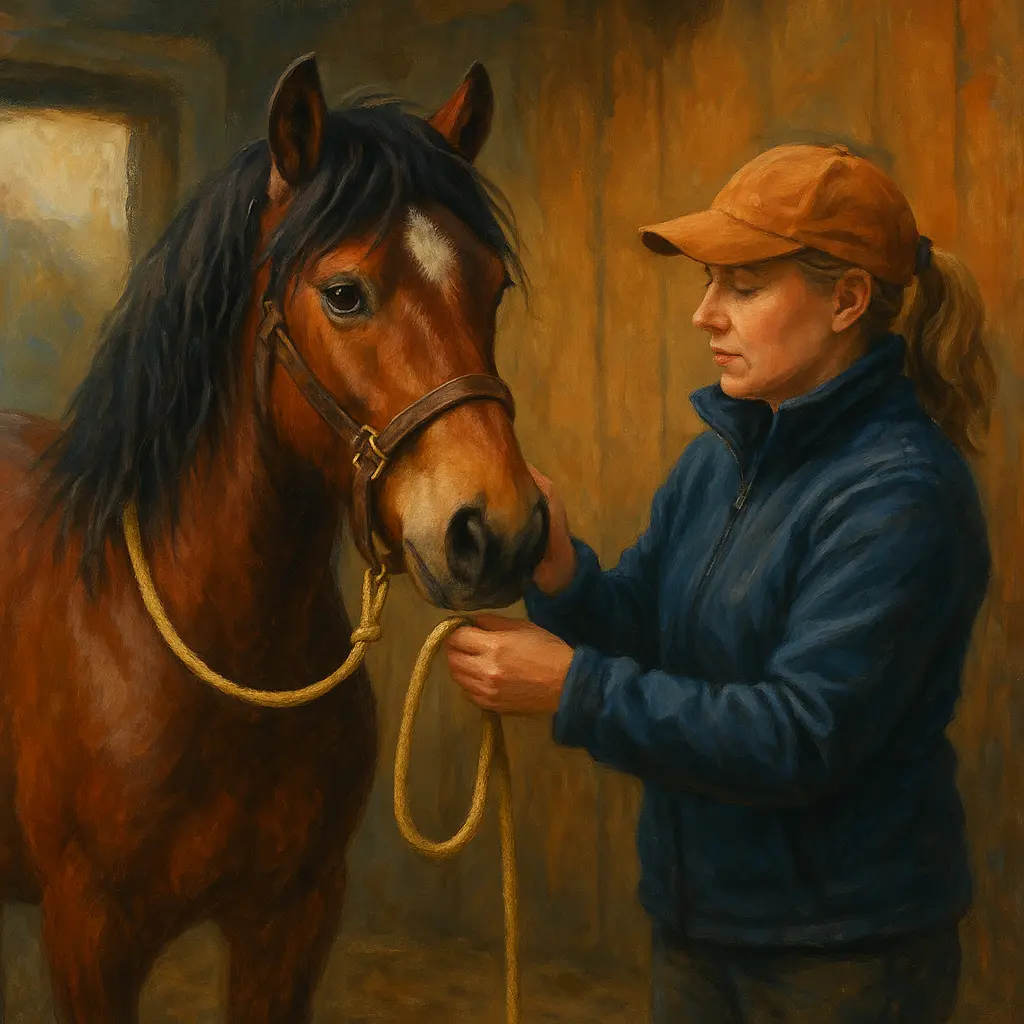
Start by creating relaxation, then desensitise with a soft string around the neck, progress to a leadrope, and only then introduce the headcollar by looping the long strap around the neck first. This sequence gives you safe, incremental “wins” that build confidence.
-
Set the tone: relaxation first. Stand quietly in the stable or small pen, shoulders soft, eyes down; reward attention with a step back. Scratch the withers to lower the heart rate. As young horse producer Will Turnbull notes:
“Initially, my main emphasis is relaxation. That’s the most important thing to me because it means they can go on and be ridden in all three paces on as light a contact as possible.”
Horse & Hound -
Introduce a string. When the horse accepts touch on the neck and shoulder, rub with a soft string in your hand, then gently slide it around the neck and remove. Repeat until breathing stays slow and ears soften. Experienced handlers advise:
“If he accepts you touching his neck and maybe head, take a string out of your pocket and rub him with it in your hand and eventually put the string around his neck. Next thing you could tie a leadrope at the end of the string... Make sure you don't leave it on him when you leave him.”
Monty Roberts University forum - Add a leadrope to the string. Tie a leadrope to one end of the string. Let it drape and move lightly so the youngster feels it without alarm. Use pressure-and-release: a small ask, instant release when they soften. Keep sessions short and end on a calm note.
- Neck loop with the headcollar. Hold the headcollar by the long crown strap and, with the head down, quietly loop the strap around the neck. This gives you calm control without “grabbing” the face.
- Bring the nose through. With one hand steadying the neck loop, use the other to guide the nose into the noseband. Avoid clanking buckles near the eye. Keep strokes slow and scratch the withers when the nose comes forward.
-
Buckle smoothly, then release energy. Buckle the crownpiece without pinching. Immediately soften the rope and allow the horse to stand. If they get stuck or try to rush, remove pace and let them think:
“If the horse tries to rush, we take all the pace away and let them think about it. If they’re ever in a pickle or not coping well, it’s so important to give them time to think.”
Horse & Hound - Finish with confidence. Rub the face, slip the headcollar off and on once more if calm, then end the session. Short and successful beats long and stressful every time.
Quick tip: If the horse turns their bum, dives away or gets tight, don’t fight — pause, move their feet in small circles, then return to a simpler step (e.g., string only). Always stay on the same side as your horse for safety.

How to fit a young horse’s headcollar correctly
Ensure at least three fingers under the noseband for freedom to chew and breathe, and always fit from above with the head down and relaxed. Start with the neck loop for control, then guide the nose through and buckle smoothly.
The three-finger rule is a simple, reliable safety check corroborated by foal-handling demos (How to Put a Headcollar on a Foal). After fitting:
- Check clearance: Slide three fingers between noseband and nose, and one to two under the throatlash. Recheck after a few minutes — grazing and head-lowering can shift fit slightly.
- Avoid eye/ear pinches: Lift the crownpiece smoothly over the ears; keep metalwork away from the eye.
- Supervision matters: Never leave a young horse unattended in a fixed headcollar in the field. If you practice pressure/release in the stable, use safe, breakable attachments and supervision only.
- Use quality hardware: Quick-release clips or panic snaps on the leadrope reduce risk if the horse startles.
Pro tip: Fit and remove the headcollar two or three times per session while the youngster stays soft. The repetition creates a “no big deal” association much faster than wearing it once for a long time.
Session length, timing and UK weather strategy
Keep sessions short (10–20 minutes) and use a stable or sheltered catch pen during wet, slippery UK weather to prevent accidents and stress. In autumn and winter, protect the skin from rainscald and keep footing secure while you build trust.
Young horses learn best in small, positive doses. Plan one to three micro-sessions per day in quiet yard times, rather than a single long session when the yard is busy. In muddy fields, halter work can quickly become a slipping hazard; bring the horse into a hardstanding or stable to work instead. If your horse is living out and the weather is soaking, consider a field-safe rug from our curated range of turnout rugs to reduce chills and skin challenges while you handle.
For stabled periods or clipped youngsters, have a well-fitted stable rug ready so the horse stays warm and relaxed through quiet training bursts. Before and after sessions, a quick brush-down helps remove damp and mud; see our practical grooming essentials to make those minutes calm and comfortable.
Quick tip: Light is fading earlier? If you must bring in at dusk, wear hi-vis for riders to stay visible on shared lanes and yard approaches, and choose supportive, grippy riding boots for sure footing on wet concrete.
Safety principles: pressure-and-release without panic
Teach give to pressure with a removable string around the neck before buckles, never leave improvised tack on unattended, and slow everything down if the horse rushes. Always stay on the same side as your horse and keep your exit clear.
Start every interaction with the goal of relaxation. When the horse softens, you release pressure immediately — that’s how they learn what “yes” feels like. Introduce a string or long strap under the neck first, then a leadrope, then the headcollar. If you practice pressure/release in the stable, you can attach a short length of plaited baling twine to the headcollar under careful supervision so the horse learns not to panic if they step on it — and remove it before you leave.
On reading the horse: the moment you see diving shoulders, pushing, bum-turning or glassy eyes, change the task. Ask for a small step of the forehand or a yield of the poll, reward, and reset to an easier step. Ginnie, a young horse specialist, explains why this pause matters:
“If the horse tries to rush, we take all the pace away and let them think about it. If they’re ever in a pickle or not coping well, it’s so important to give them time to think.”
These welfare-led methods align with BHS-aligned good practice and the Animal Welfare Act 2006 expectation of positive handling that prevents fear-based behaviours in young horses in UK yards.
Common mistakes to avoid
- Rushing the process or making sessions too long; aim for multiple short successes.
- Trying to fit from the front without a neck loop, leading to head-throwing.
- Letting metal buckles clink near the eye/ear; keep movements smooth and quiet.
- Fitting too tight — always check the three-finger gap under the noseband.
- Working in a muddy, open field on a windy day; choose a stable or small catch pen.
- Leaving strings, rope halters or improvised gear on when unattended — remove everything.
- Standing on the off-side or crossing under the neck; stay on one side for safety.
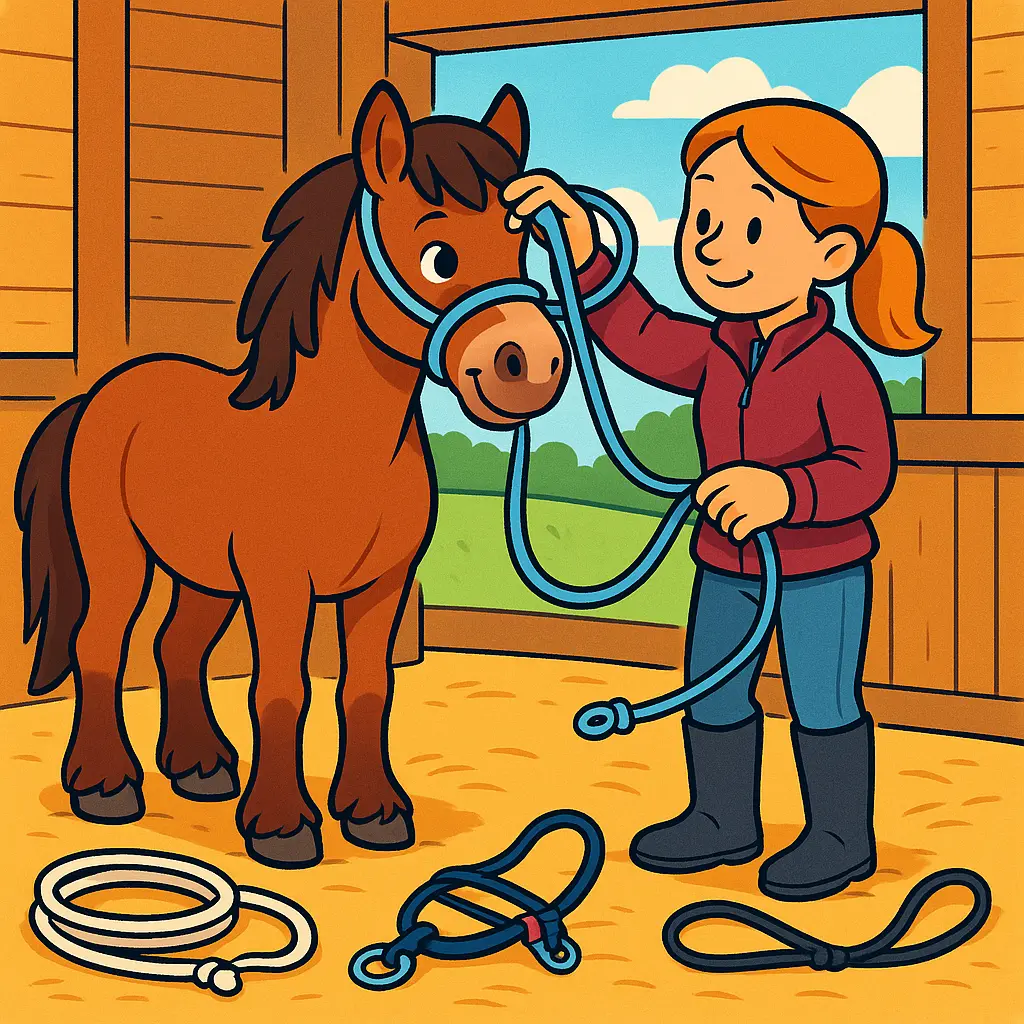
Kit that helps: calm handling and UK yard essentials
Breakaway or adjustable youngstock headcollars, soft cotton ropes, and field-safe rugs all make early handling safer and smoother. Choose calm colours, soft materials and quick-release hardware wherever possible.
- Breakaway headcollars (£15–£40): Ideal for nervous youngsters and yard practice because they release under pressure to prevent injury if caught. Explore trusted UK brands such as Shires and Weatherbeeta.
- Foal/youngstock headcollars (£10–£30): Look for multiple adjustment points to suit growing Welsh Cob heads, and opt for quick-release clips to reduce fuss during fitting. Premium comfort options can be found with brands like LeMieux.
- Leadropes with panic snaps (£8–£20): A panic snap lets you release fast if the horse sets back, reducing risk during early lessons.
- Soft cotton training strings/ropes (£5–£15): A soft string is non-intimidating and perfect for neck desensitisation before introducing buckles or nosebands.
- Field-safe turnout rugs (£40–£80): Keep your youngster comfortable in wet UK weather while you build routines; browse our practical winter turnout rugs and popular Weatherbeeta options.
- Leg protection for in-hand practice: If you’ll be moving feet or working on small circles on hardstanding, consider light support from our horse boots and bandages.
- Grooming and rewards: A soft brush can become a “relax” cue, and a small nibble helps mark calm behaviour. Stock up on gentle grooming kit and low-key treats for reinforcement.
- Rider safety for yard work: Stay sure-footed in supportive yard and riding boots, and carry dusk-safe hi-vis if you’re crossing lanes to bring in.
At Just Horse Riders, we recommend building a small “young horse kit” box so everything — string, leadrope with panic snap, headcollar, brush and treats — is within reach when the moment is right.
Pro tip: Favour leather or breakaway designs for any gear a youngster might wear unsupervised in a stable (short periods only). Remove everything before turnout.
This calm, consistent, welfare-first approach — relaxation, string, leadrope, halter, with correct fit — is proven, practical and perfectly suited to UK yards. Take your time, and your Welsh Cob will reward you with a lifetime of confident, polite handling.
FAQs
How long does it take to headcollar a nervous 2-year-old?
It can be achieved in one careful 3-hour session using desensitisation, but for lasting confidence expect a few short sessions over several days (source). Keep each session 10–20 minutes and end on a calm success.
What if my young horse panics when I start fitting the headcollar?
Step back to a soft string around the neck and re-teach pressure/release. Introduce the headcollar again using the neck loop first, and never leave strings or improvised tack on when unattended (source).
Is a Welsh Cob naturally nervous at two?
No — they’re intelligent, friendly and spirited, but without patient, confident handling they may look cheeky or wary. With clear, calm groundwork they settle quickly (breed profile).
Where should I handle a youngster in wet UK weather?
Choose a stable or small, sheltered catch pen to avoid slipping on muddy grass. Keep the horse comfortable with appropriate turnout rugs and groom off rain before sessions using your grooming kit.
How tight should the headcollar be on a young horse?
Allow at least three fingers under the noseband and check again after a few minutes of grazing or head-lowering. Ensure smooth, pinch-free buckling and use quick-release hardware where possible (fitting demo).
When should I stop a session with a nervous colt?
Stop or step back the moment you see distress signs — diving away, bum-turning, tense eyes. Redirect to a simple task, reward relaxation, and call it a day on a win (source).
What basic kit do I need to start?
A soft string, a leadrope with panic snap, an adjustable or breakaway youngstock headcollar, a soft brush and a small bag of treats. For foul weather, add a field-safe turnout rug from brands like Weatherbeeta, and wear supportive yard boots for secure footing.