
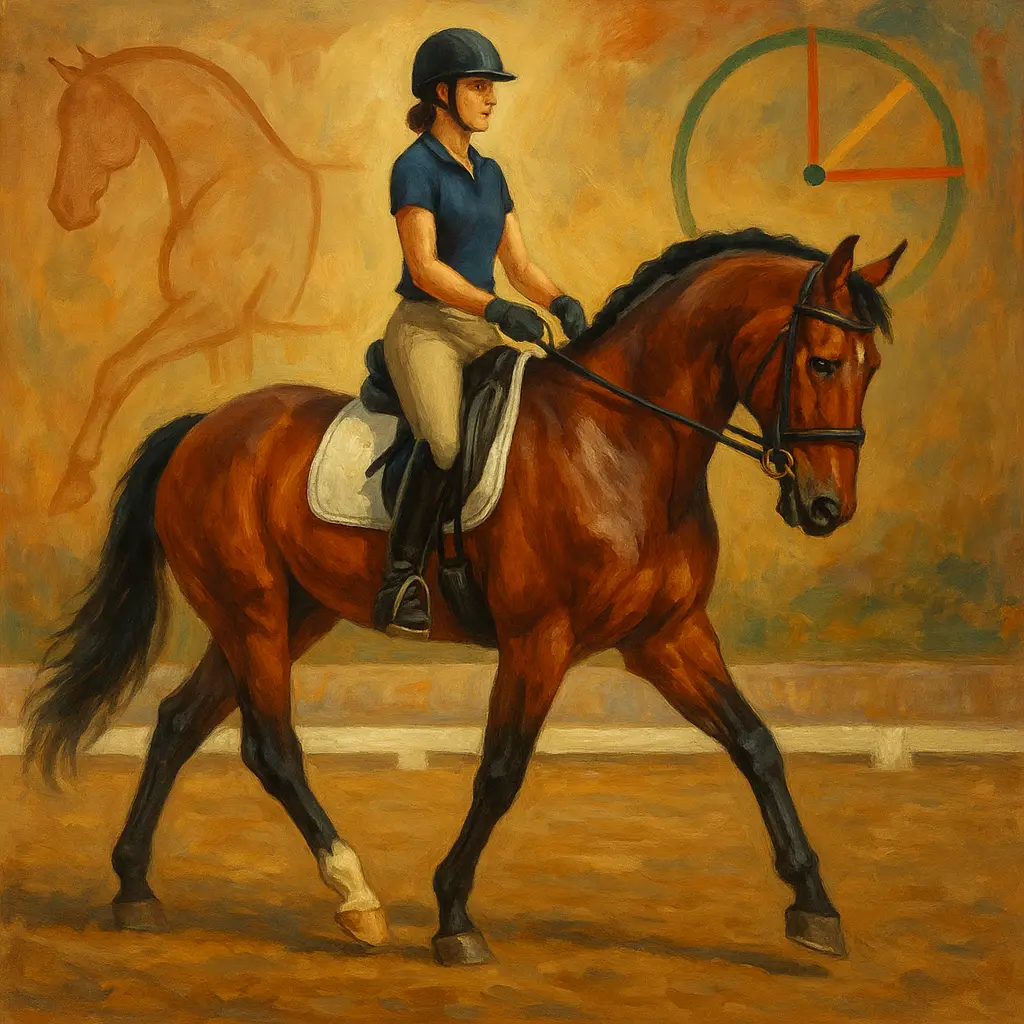
Your horse leaning on one rein can feel like pushing a trolley with a sticky wheel: constant, tiring, and disastrous for balance and marks. The good news is that you can fix it — not by pulling harder, but by training consistent, elastic contact from a stable seat and a truly active hind end.
Key takeaway: Leaning on one rein is a biomechanical and training issue — solve it by building even hindleg strength and riding to a steady outside rein with consistent, elastic contact.
Horses lean on one rein because of uneven hindleg strength, suppleness and balance, often reinforced by rider instability.
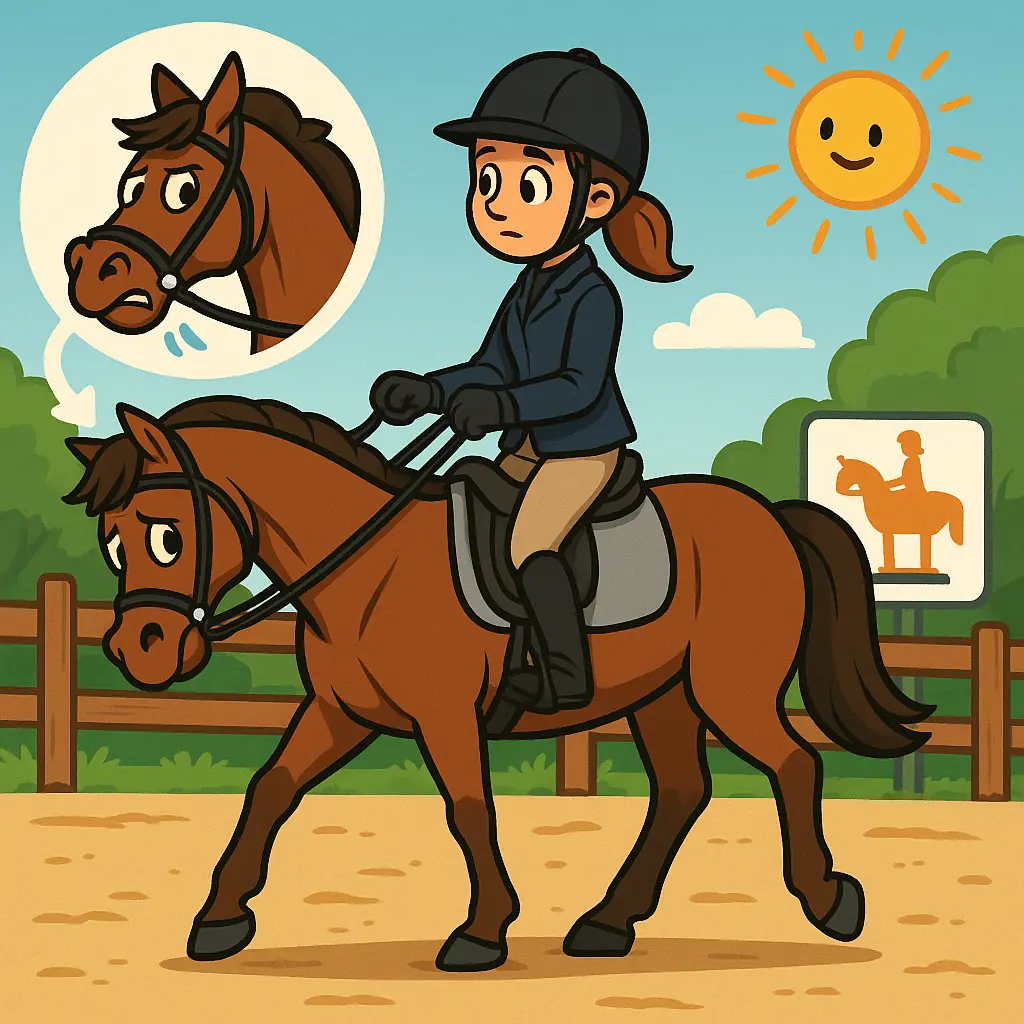
When a horse “hangs” on the left or right rein, the root is rarely in the mouth. It’s a whole-body coordination problem: one hind leg isn’t flexing under the body as well as the other, the ribcage is stiffer on one side, and the horse uses your hand for balance. Over time, this becomes a learned strategy that your horse finds hard to abandon.
“The heaviness or stiffness that you feel in the rein is caused by the hind leg on the same side not flexing and supporting the body mass enough.” — Ritter
Dressage coach Alison Kenward (BHS accredited) explains why this behaviour sticks:
“When a horse hangs on one rein it often becomes a habit. They might resist working in a different way until it becomes familiar and they feel confident that they can maintain their balance.” — Your Horse
So, if your horse is heavy on, say, the right rein, it often means the right hind isn’t stepping under and flexing enough. Pulling the inside (right) rein only stiffens the neck, blocks the right hind, and increases the lean. The fix is to bring the whole horse into even, forward, supple balance — and that starts with you.
Consistent rein tension reduces conflict behaviours more effectively than simply aiming for “light” hands.
Multiple rein-tension studies (Centaur Biomechanics, discussed by Pegasus Physio) show that horses display more conflict behaviours when rein tension is variable, even if the average tension is low. Elite riders don’t just ride “light” — they ride elastic and stable. Poor patterns are typically rider-driven: a bouncing hand, stiff shoulders, or an unsteady upper body create noise in the contact that the horse answers with tension.
“Consistency of rein tension is more important than simply aiming for ‘light’ contact... Poor rein tension patterns are often caused by instability or stiffness in the rider’s arm or upper body.” — Pegasus Physio (Centaur Biomechanics analysis)
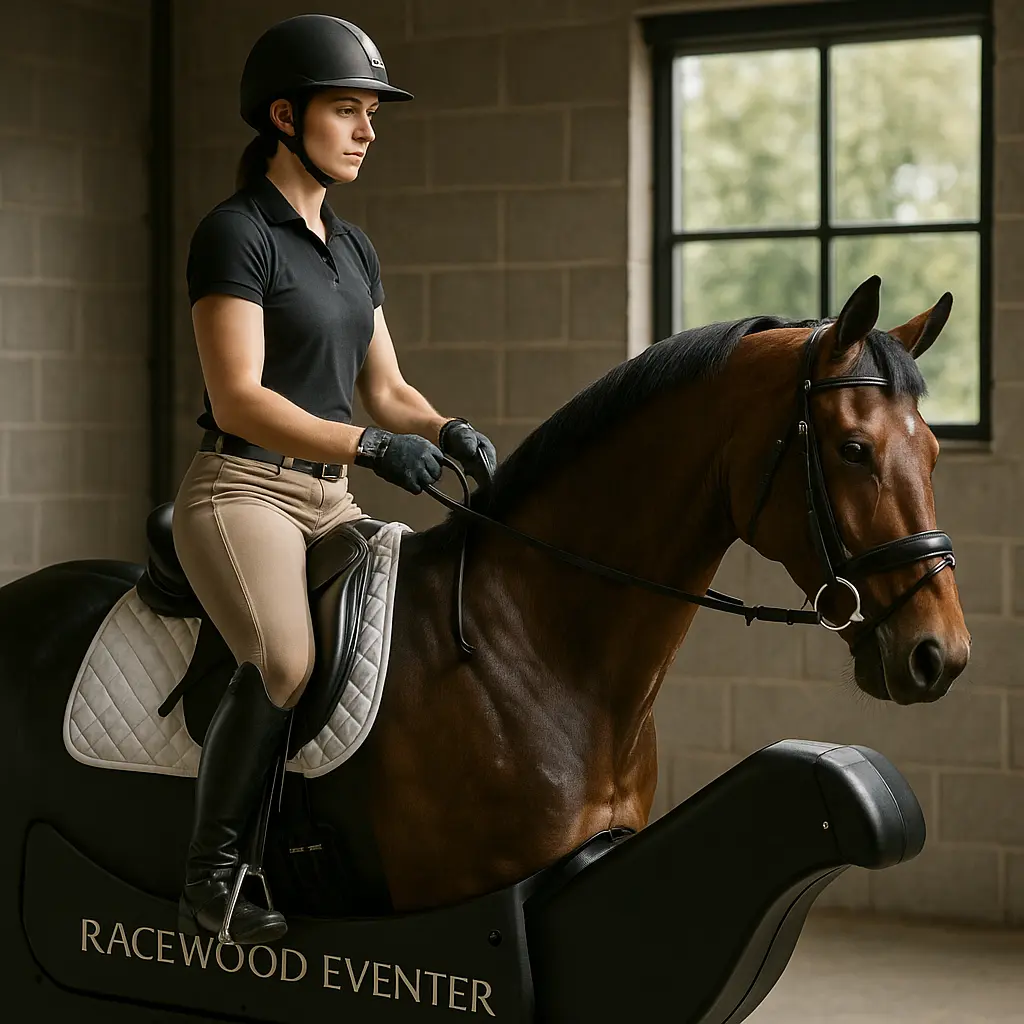
What does consistent feel like? On the Racewood Eventer simulator, a correct, forward head–neck posture typically reads at roughly 1 kg through one rein (about 0.5 kg per rein when working symmetrically). That chimes with research on “light” contact in dynamic riding — not hanging, not slack, but steadily elastic. The big takeaway: your horse will accept a slightly fuller, even contact if it is consistent and connected to the hind legs, but they will fight an inconsistent, fiddly contact even if it is feather-light on average.
Before schooling, rule out pain, poor saddle fit, dental/back issues, and rider crookedness.
Start with welfare. If leaning persists despite correct basics, call your vet and saddle fitter. UK vets (under RCVS guidance) and equine dentists can check for arthritis, stiffness behind, sharp teeth, or back soreness that make self-carriage uncomfortable. Many UK riders uncover subtle lameness during winter when deep or wet arenas magnify imbalances; don’t train through it.
Next, assess your riding symmetry. At walk, sit evenly over both seat bones, carry equal rein lengths, and confirm your horse moves promptly away from each leg. Notice if you habitually collapse a hip, draw one hand back, or drift the haunches inside. A few minutes of rider self-checks can transform the contact:
- Eyes up, shoulders soft and level, elbows by your sides with a quiet hinge.
- Thumbs on top, reins resting in the fingers (not clenched fists), steady “elbow-to-bit” line.
- Test: can you shorten and lengthen your reins evenly without losing rhythm?
If your vet approves continued work, consider supporting comfort as you build strength. At Just Horse Riders, riders often choose targeted joint and mobility supplements (always in consultation with your vet) to help older or stiffer horses cope with increased engagement work.
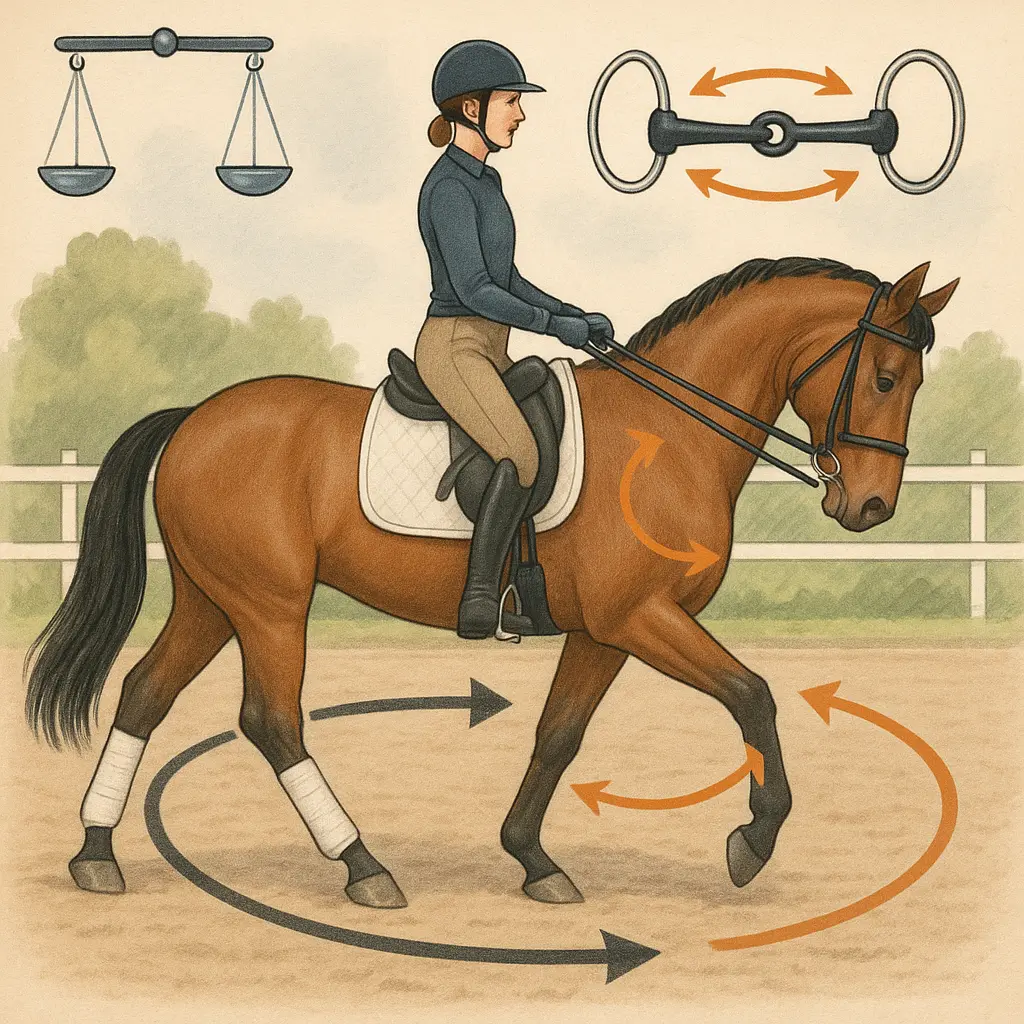
Ride from your inside leg to a steady outside rein, and never fix the inside rein.
The fastest way to even the contact is to channel energy from the inside hind towards a stable outside rein. Pulling the inside rein short-circuits the hind leg, tips the shoulders in, and increases the lean. Instead, stabilise your outside hand, ask the inside hind to step under, and let the neck soften forwards and down into your hand.
Try this sequence on the “hanging” rein side first (for example, if your horse leans on the right rein, start on the right rein):
- Walk shoulder-fore down the long side. Keep a quiet outside rein and a light, opening inside rein to guide flexion (don’t pull back). Feel the inside hind stepping into the outside hand.
- At the corner, make a soft circle away: 10 m in walk, 15 m in trot, 20 m in canter (typical for UK Prelim/Novice). Keep the circle size honest — too small causes brace, too big loses influence.
- On the circle, ride three to five transitions (walk–halt–walk; trot–walk–trot; canter–trot–canter) using your seat and leg for the downwards, a tiny inhale and still core for the half-halt, and immediate leg to re-send the hind legs.
- Return to the long side in shoulder-fore and repeat. Then change rein and ride the same pattern to the new outside rein.
Quick tip: Think “inside leg creates, outside rein receives.” If the inside shoulder falls in, don’t pull the inside rein — touch with the inside leg at girth and stabilise the outside rein. Allow a chew of the reins forwards–down as a reward, then quietly pick up the same, even feel again.
Protecting limbs while you add transitions and lateral work is sensible. For schooling, supportive boots or bandages help manage knocks as the horse learns to place their feet more accurately; browse our breathable horse boots and bandages. For you, close-contact feel matters too — good grip and stretch in your legwear reduces lower-leg fidget that travels into the hand. See our rider-favourite women’s jodhpurs and breeches to keep your leg quietly “on” without pinching.
Use simulators or rein sensors off-horse to stabilise your arm and elbow-to-bit line.
If you can, jump on a Racewood Eventer or similar and aim to maintain roughly 1 kg on one rein in a forward posture (about 0.5 kg per rein when even). Watch how breathing, shoulder tension, and elbow angle change the readout. Without a simulator, you can still train the feel at home:
- Hold your reins or two reins clipped to a bit, stand balanced, and practise shortening/lengthening without letting your elbows drift behind your trunk.
- Wall drill: stand an arm’s length from a wall, place your forearms lightly against it, and bend/straighten elbows while keeping shoulders relaxed and ribs soft.
- Core–contact link: exhale into a half-halt while resisting the urge to curl your wrists. The contact should “fill” your hands, not be pinched by your fingers.
Pro tip: Your hands are only as quiet as your base. A supportive boot with a secure heel and flexible ankle helps anchor your lower leg so you don’t balance on the reins. Explore our durable, grippy horse riding boots to keep your base stable when the work ramps up.
A four-week plan of transitions, shoulder-fore and correct circles builds even contact and confidence.
Give the habit time to change. Keep sessions 30–45 minutes with regular stretch breaks. Three to five schooling sessions per week plus one hack is a realistic UK winter plan around short daylight and variable footing.
Week 1: Establish rhythm and the outside rein
- Focus: clear four-beat walk and swinging trot, light bend around the inside leg, and steady outside rein.
- Pattern: long side shoulder-fore into 10–15 m circles, three walk–halt–walk transitions each long side.
- Reward: reins gently chewed forwards–down for 1–2 long sides when the outside rein feels fuller and the inside softens.
Week 2: Add strength and straightness
- Introduce trot–walk–trot transitions on the circle and shallow loops. If the inside shoulder falls, add a stride of leg-yield out, then re-straighten to the outside rein.
- In canter, ride 20 m circles with three mini half-halts per circle, then allow the neck to lengthen an inch while keeping the same tempo.
Week 3: Lateral control without fuss
- Shoulder-fore to shoulder-in feeling (two to three tracks) in trot on the “sticky” rein, then ride a 15 m circle to re-balance. Keep your outside hand quietly receiving, not pulling.
- Introduce transitions within the gait: working trot to a hint of lengthen for six strides, back to working without losing the outside rein.
Week 4: Consolidate and test
- Ride full arena patterns: centre line, 10–15 m circles at letters, and changes of rein. Aim for both reins to feel equally “filled” and springy.
- Film a Prelim/Novice test at home. Note if the right/left rein now matches in turns and transitions; adjust next month’s plan accordingly.
Regular breaks matter. Walk on a long rein between blocks and let the neck lengthen when the hind legs stay active — this teaches your horse that reaching to the hand is safe and comfortable. For winter schooling outdoors, staying warm and dry keeps muscles happier; well-fitted, breathable turnout rugs mean you can include short groundwork or hand-walk stretches on wet days without a chill. If you add traffic-safe hacks to build strength and straightness, be seen in our hi-vis rider gear — essential on dark afternoons.
Avoid side reins and fixed gadgets for this problem; they hinder self-carriage and can create tension or misdevelopment.
Short or fixed side reins pull the neck into a posture the body can’t honestly support, especially if one hind leg is not stepping under. That risks bracing, dropped backs, overbending, and even muscle misdevelopment when used as a “permanent fix.”
“Auxiliary reins hinder a horse in finding self-carriage. The horse is forced into a posture that humans perceive as correct... Everything is connected to everything.” — Lungeing.com
Research-backed coaching advice is clear: if side reins are set too short or used to mask unevenness, they create severe tension and a frame the horse cannot own. Instead, lunge off a cavesson with plenty of walk–trot transitions, large circles, and gentle pole work that encourage stepping under and lifting the back. Under saddle, avoid early “firm” contact — it disturbs the hindleg; build to a consistent feel as the horse pushes from behind.
Call your vet if the lean persists after correct training, or if you notice asymmetry, soreness, intermittent lameness, or resistance in transitions.
Welfare comes first. If your horse tilts the head persistently, swishes the tail, pins ears in transitions, or feels different on circles versus straight lines, involve your vet. UK practitioners following RCVS and BEVA standards can pinpoint low-grade hindlimb issues, hock or stifle arthritis, or SI/back discomfort that present as “contact problems.” The right therapies and a progressive plan often extend comfortable working lives.
After veterinary assessment, many owners support joint comfort and recovery with proven brands. Explore our NAF range for options to discuss with your vet or nutritionist as you rebuild strength and suppleness.
At Just Horse Riders, we recommend revisiting basics every few weeks: even seat bones, equal reins, inside leg activating, outside rein receiving. When those are in place, leaning habits melt away and your marks climb.
FAQs
Why does my horse lean on one rein despite physical checks?
Because it’s often a trained balance strategy linked to a stronger/weaker hind leg pair and rider asymmetry. Re-train by riding inside leg to a steady outside rein with shoulder-fore, well-sized circles (10 m walk, 15 m trot, 20 m canter), and frequent, correct transitions. See Alison Kenward’s advice via Your Horse and biomechanical insights from Ritter.
Does pulling the inside rein help create bend?
No. It blocks the inside hind, tips the shoulders, and increases the lean. Create bend with the inside leg at the girth, stabilise the outside rein, and allow the neck to lengthen into an elastic contact.
Should I use elastic or side reins to fix leaning?
No. Fixed or short auxiliary reins force a frame, increase tension, and prevent self-carriage. Lunge from a cavesson, use large circles and transitions, and school under saddle with consistent, elastic contact instead. See Lungeing.com guidance.
How do I know if my contact is the problem?
Variable rein tension is a red flag. If your hands bounce, shoulders brace, or elbows creep behind your trunk, your horse will show conflict behaviours. Train off-horse with a simulator or rein sensors to stabilise your elbow-to-bit line; Centaur Biomechanics’ findings via Pegasus Physio highlight that consistent, not merely light, contact is key.
When should I call the vet about one-sided contact?
Immediately if you suspect soreness, irregular steps, head tilt, or persistent resistance despite correct training. Rule out teeth, back, saddle fit, and hindlimb issues; therapies and a progressive plan can keep your horse comfortable and rideable.
How long does it take to fix habitual leaning?
Expect several weeks of consistent work. A four-week block using transitions, shoulder-fore and correctly sized circles — with frequent stretch breaks — usually produces a clearly more even, elastic feel. Keep refreshing the basics and give regular walk breaks so the new balance becomes your horse’s default.
What gear genuinely helps while I retrain?
Choose supportive schooling boots or bandages for protection, grippy and comfortable legwear to steady your lower leg, and boots that anchor your base. Our curated picks help you focus on feel, not fidget: horse boots and bandages, women’s jodhpurs and breeches, and riding boots. For winter consistency, keep your horse comfortable outdoors in quality turnout rugs and stay visible on hacks with hi-vis.