
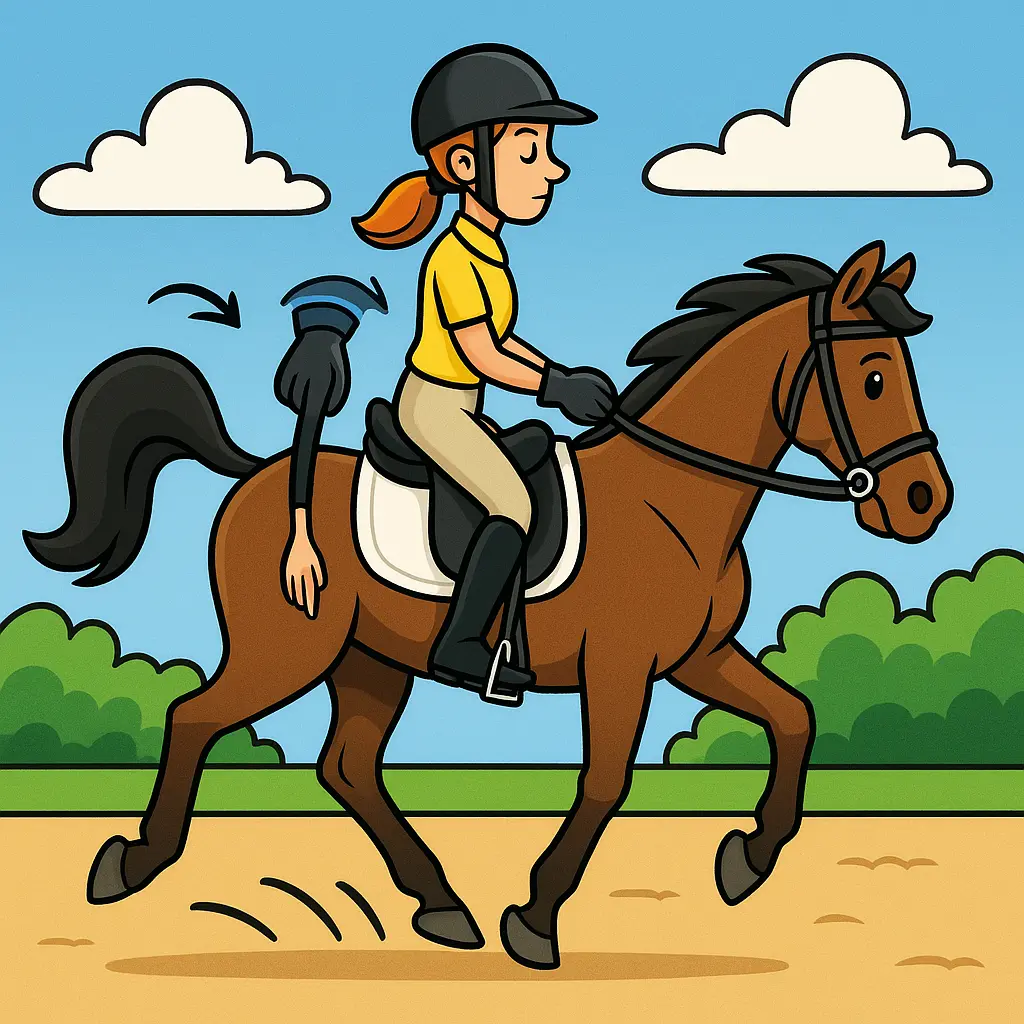
Your lower leg swinging back in canter is frustrating, but it’s not a mystery. It has clear biomechanical causes — and with a few targeted changes, you can fix it for good and ride a quieter, more effective canter.
Key takeaway: In canter, your pelvis tips backward as the horse’s hindleg pushes off; if you grip with your knees or lack smooth hip control, your lower leg will slip back. Sit on both seat bones, soften your thighs, and drop weight through your ankles to anchor your leg.
Why your lower leg slips back in canter
Your lower leg swings back in canter because your pelvis moves into a posterior tilt during the hindleg push-off; without controlled, elastic hips — and if you grip with your knees — the leg slips. This is why your leg may look fine in walk and trot but disappears in canter transitions and on a bigger stride.
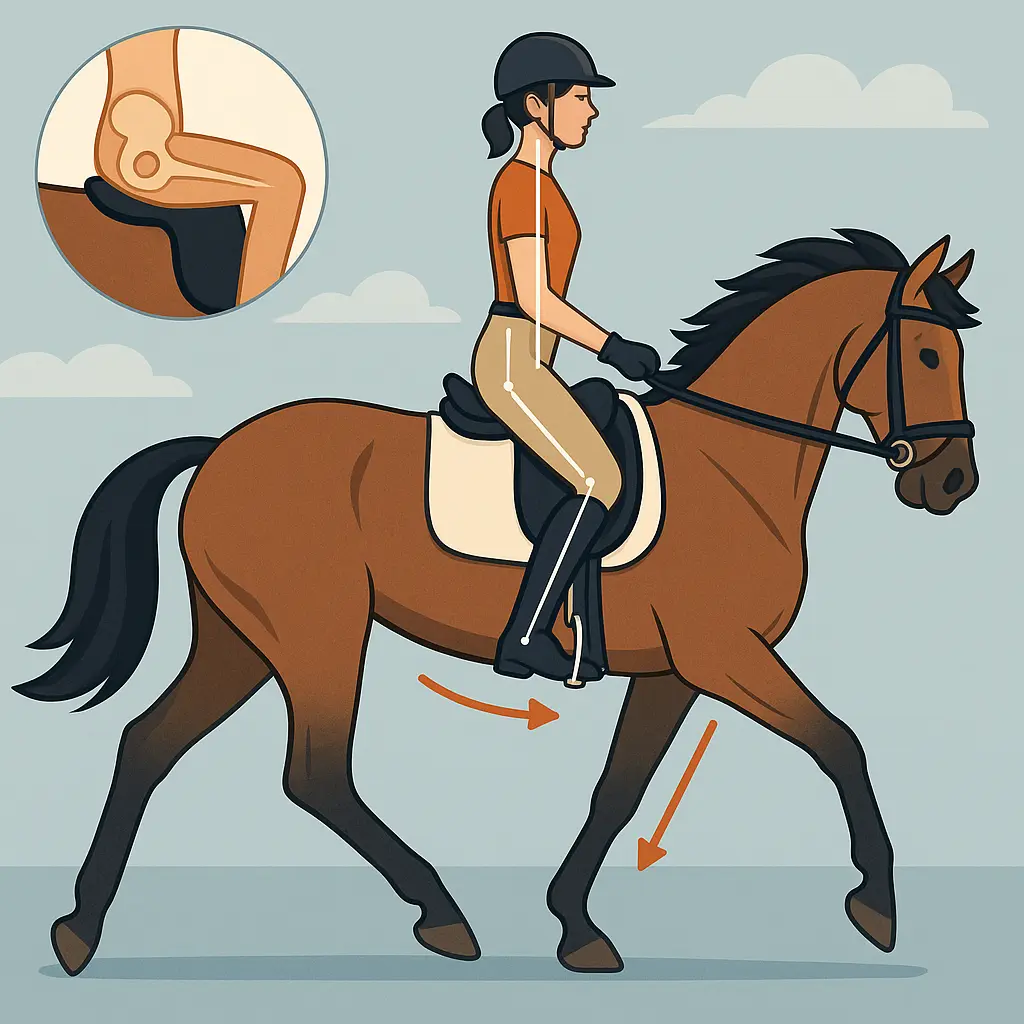
Canter naturally rocks your pelvis: as the horse lifts the forehand, your pelvis rolls under. If you don’t match that movement with eccentric (braking) control in the hip flexors and extensors, the thigh tightens, the knee pinches, and the lower leg pops back or pendulums. Many riders make it worse by tipping onto the pubic bone or bracing the upper body to “sit deep” on a pulling horse — both drive the leg behind the girth.
Another frequent trigger is defensive gripping when a horse gets onward-bound or spooky. The more you clutch with the thigh and knee, the more the leg slides back and the seat bounces, creating a loop that unsettles both horse and rider.
Start with your pelvis and seat bones
Correct your lower leg by starting at the pelvis: sit centred on both seat bones in the middle of the saddle, not tipped forward onto the pubic bone. When you tip forward, your legs will creep back; when you stack up over your seat bones, your leg can drape under you.
Dressage instructor Eliza Sydnor Romm puts it plainly:
“Start in the middle of your body—most position faults need to be corrected starting at the pelvis... Make sure you are sitting in the center of the saddle... with your weight straight down on your two seat bones. If you tip a bit forward and have too much weight on your pubic bone, your legs are likely to creep back.” (Dressage Today)
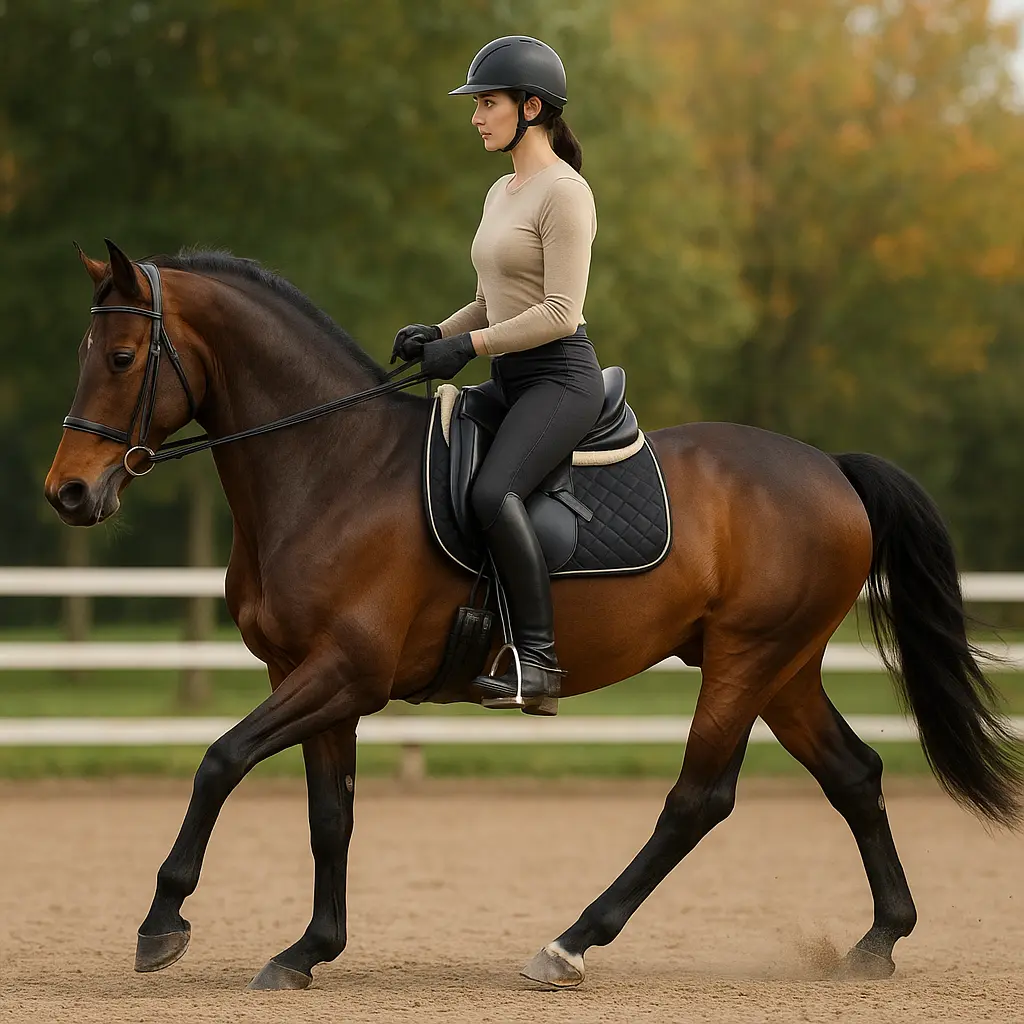
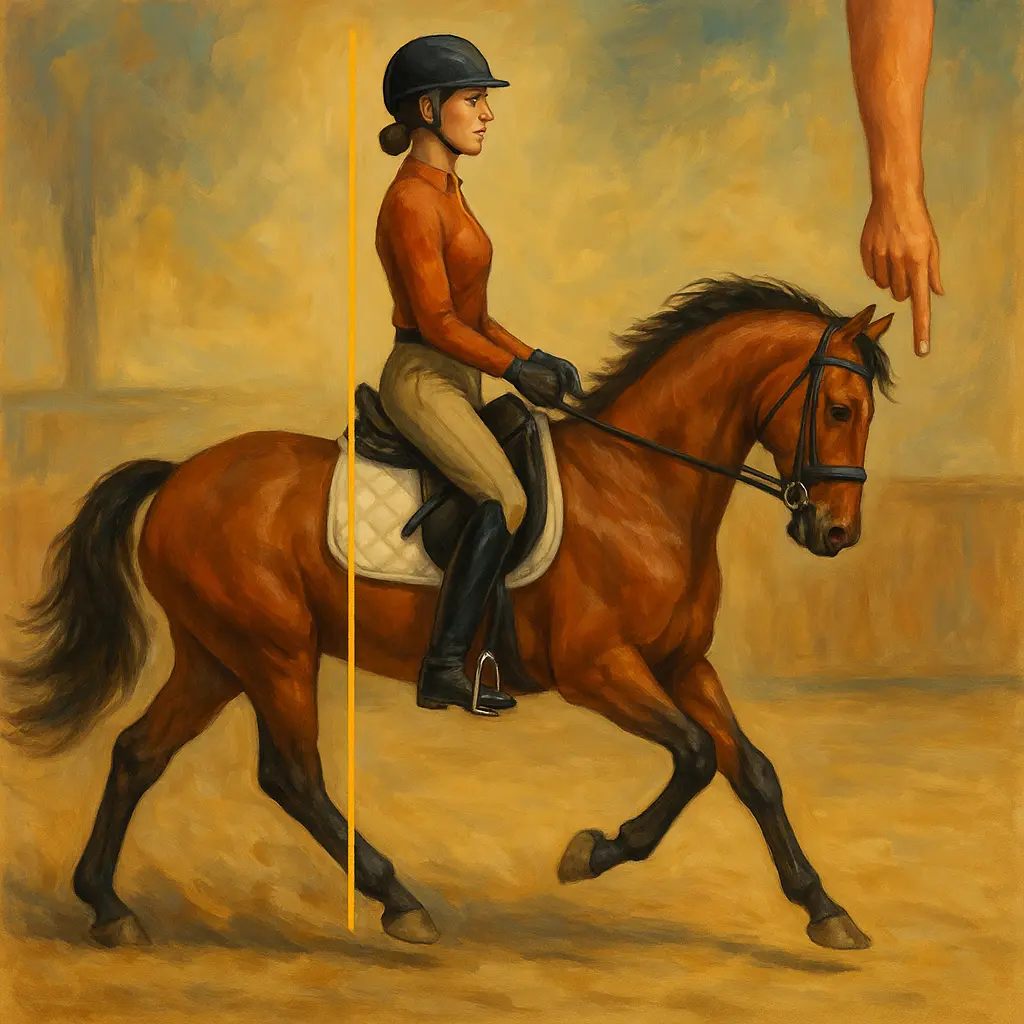
From that stacked seat, aim for the classic vertical line of ears–shoulders–hips–heels. If your shoulders tip forward or you perch, your heels will shoot back to “catch” you. Let your thighs lengthen and wrap softly around the saddle, resting in the deepest part without pushing into the knee blocks. A simple off-horse check between efforts: breathe out, feel your seat bones, and allow your tailbone to gently “point” down without tucking hard.
Quick tip: Without mirrors, hang one arm straight down from the shoulder like dead weight and point your index finger. It should line up with your heel; if it doesn’t, bring your leg slightly forward until it does — even in trot or canter if you’re balanced.
Stop gripping: soften your thighs and weight your ankles
Loosen your knees and let your weight drop through your ankles; this anchors the lower leg and stops it swinging back. A soft thigh allows the leg to hang — a gripping thigh slings it behind you.
Two concise cues from experienced trainers say it best:
“If your knees are gripping too much, your lower leg will slip back. Check yourself in all three gaits occasionally by taking your whole leg off the saddle for a moment and then letting it hang again.” — Jessica Andrews (Dressage Today)
“You want weight down through your ankles... they’re too heavy they can’t move... it keeps you stiller in the canter and anchors you to the horse.” — Riding instructor (video)
Think of gently “hanging” your calf on the horse’s barrel rather than jamming the spur. Keep a tiny, alive contact with the horse’s side, ready for aids, but never clamped. If nerves make your knees pop off the saddle, breathe out long on the canter stride, widen your hands a touch, and let your heels feel heavy.
Gear that helps: a grippy seat can reduce the urge to clamp. Consider upgrading to sticky-seat breeches (£30–£80) so you can relax your thigh without sliding, and make sure your stirrups are a hole or two shorter than “dressage long” if you tend to fish for them in canter.
Set your legs for the canter lead
In canter, keep the inside leg at the girth and slide the outside leg behind the girth to maintain the lead and put your weight over the inside seat bone. This alignment helps balance the horse and keeps your lower leg purposeful rather than wandering.
As one riding instructor explains:
“In the canter your leg position should always be for whichever lead you're on... inside leg at the girth and outside leg behind the girth... it helps you to keep your weight over your inside seat bone.” (video)
To feel this, “drop” your inside heel momentarily as you strike off to ensure your inside seat bone stays weighted. Then let the outside calf hover a hands-width behind the girth — not clamped — acting like a guard rail to prevent the quarters falling out. This is consistent with how BHS-trained instructors teach canter aids in UK riding schools: inside leg maintains the jump, outside leg positions the quarters for the chosen lead.
Common errors to avoid:
- Pulling the outside leg too far back, twisting your pelvis and shoving both legs behind you.
- Letting the inside leg slide back as you chase the canter — keep it at the girth to maintain the rhythm.
- Over-bending the neck to the inside while your weight tips out; instead, feel equal reins with inside flexion and your weight over the inside seat bone.
Check your tack: saddle fit and girth
Yes — an ill-fitting saddle or poorly placed blocks can force your leg back no matter how hard you try to fix it. If your thigh is pushed up by the saddle or your knee is floating behind a huge block, your leg will migrate.
Signs your tack is working against you include: constantly feeling perched on your pubic bone, knees catching under the block, or stirrup bars that place the leathers so far back your heel can’t sit under your hip. A qualified saddle fitter can confirm alignment; don’t underestimate the impact of flap shape, block placement, and seat depth on where your thigh naturally rests.
Small kit tweaks also matter. An anatomical girth can reduce pinching that triggers defensive gripping (£50–£150), and well-balanced saddle pads help keep the saddle steady during transitions. We rate established UK brands for durable, well-shaped pads — browse Weatherbeeta pads and LeMieux pads and breeches to refine your setup.
Don’t forget your own contact point with the stirrup: a secure boot with a defined heel helps you “weight the ankle” without jamming the toe down. If yours are tired or too soft, upgrade to supportive riding boots for a more stable stirrup feel.
Build stability with smart drills
Build eccentric hip control and lower-leg stability with simple, specific drills: pelvic tilting, lunge lessons without stirrups, short bouts of no-stirrup canter on a trustworthy horse, and video feedback. These create the control to match the canter’s pelvic motion so your leg can hang quietly.
On the ground (5 minutes before you ride):
- Pelvic tilts: standing tall, breathe in; as you breathe out, gently roll the pelvis posteriorly (tailbone points down), then release to neutral. Avoid big “cat/cow” swings — keep it subtle. Match the rhythm you expect in canter to train timing.
- Hip clocks: imagine your pelvis is a clock and move it to 12–3–6–9 with minimal upper-body shift. Focus on smooth, controlled transitions between positions.
In the saddle:
- No-stirrup lunge work (with an experienced handler and safe horse): let your thighs drape, alternate 3–5 strides eyes closed with 3–5 open to improve feel and balance.
- Posting-trot tune-up: move diagonally forward with your seat, not up-and-down like a piston. A forward-posting seat sets you up to stay over your feet for the canter depart.
- “Leg reset” in all gaits: take your legs momentarily off the horse, lengthen from hip to heel, then re-drape. Repeat whenever you feel gripping creep in.
- Short stirrup intervals: ride 2–3 minutes a hole shorter to teach your ankle to carry weight, then return to normal length keeping that heaviness in the heel.
Record your schooling sessions to spot when the swing starts — often during transition moments, rider tension spikes, or when a horse quickens. Adjust your plan accordingly: repeat the transition more quietly, breathe, reset the leg, go again.
Safety first: if you’re upping your lunge or no-stirrup work, pair it with a properly fitted riding helmet. If you’re hacking to build fitness when arenas are busy, add hi-vis for low-light hacks, especially through autumn and winter.
Ride smarter in UK conditions
When your horse pulls or spooks in wet, windy UK weather, prioritise rhythm and forward, then reset your leg and release; fighting the reins or clamping the thigh makes your leg swing more. In short winter sessions or slippery arenas, invest in balance and basics indoors before asking for bigger canter work outside.
On blustery days, start with transitions within the gait to channel energy: working canter for 6–8 strides, then a small, elastic collect, then out again. Between each change, do a “leg reset”: exhale, soften knees, drop weight to the ankle, check inside leg at girth/outside just behind. If your horse pulls, send him forward off a clear leg aid, then soften the hand — nagging with a backward leg while hanging on the rein is the fastest route to a disappearing lower leg.
Time your schooling to daylight and better footing where possible. Through autumn and winter, make use of indoor arenas for position work; on yards without one, fill shorter outdoor rides with quality: 10–15 minutes of precise walk–trot–canter transitions, then finish before fatigue breaks your form. When the weather rules out canter, do groundwork and in-hand lateral work to keep both of you supple for the next schooling day.
Kit that helps (without hiding problems)
Choose supportive kit that encourages correct alignment — not gadgets that mask the cause. You’re aiming for steadier ankles, a relaxed thigh, and secure contact that lets you release the knee.
- Sticky-seat breeches: a small amount of grip helps you stop clamping and sit your seat bones (£30–£80). Explore our women’s jodhpurs and breeches, including gel-seat options.
- Supportive boots: a defined heel and a stable sole make it easier to “weight the ankle” without forcing the toe down. See our curated horse riding boots.
- Brands riders love: LeMieux breeches and pads pair function with grip where you want it, and their fabrics hold shape through UK weather swings.
- Safety and visibility: if you’re doing lunge lessons or dusk hacks, prioritise a snug, certified riding helmet and add hi-vis layers.
- On a budget: you can often pick up past-season breeches or boots at great prices — check the clearance in our Secret Tack Room.
Note: Saddle upgrades can be transformational but costly (£500–£2,000 for quality all-purpose or dressage models). Before replacing, try simple changes like block adjustments, pad choice, and girth shape — and always involve a qualified fitter.
FAQs
Why does my lower leg swing back more in canter than in walk or trot?
Because canter puts your pelvis into a stronger posterior tilt during the hindleg push-off; if your hips don’t eccentrically control that movement and your knees grip, your lower leg slips behind the girth. Loosen the thigh, stack over your seat bones, and let weight drop into your ankles to stabilise it.
Is my saddle causing my leg to slide back?
It can. A saddle that tips you onto your pubic bone, forces your knee into or behind a big block, or places the stirrup bar too far back will drag your leg with it. Get a fitter to check flap shape and block position, and experiment with pad and girth choices before replacing the saddle.
How do I check my leg position without an arena mirror?
Hang one arm straight down from your shoulder like dead weight, point your index finger, and line it up with your heel. If your heel is behind your finger, bring your leg slightly forward and re-drape; repeat in all three gaits as a quick self-check.
What’s the fastest way to stop my legs swinging in canter today?
Right away, soften your knees and let your weight drop into your ankles, keep your shoulders quiet, and let your seat follow the horse. Avoid clamping with the thigh; a few strides of “leg off, re-drape” can reset your position instantly.
How should my legs be positioned for canter leads?
Inside leg at the girth to maintain jump and straightness; outside leg just behind the girth to guard the quarters and confirm the lead. Keep your weight over the inside seat bone and avoid pulling the outside leg too far back.
What if my horse pulls and my leg shoots forward or back?
Get him forward off a clear aid, then soften. Don’t nag with a backward leg while hanging on the rein; instead, ride transitions within the gait, breathe out, reset your leg, and ride from seat and core. If he’s strong on windy days, school indoors or shorten sessions.
Which clothing or kit actually helps?
Sticky-seat breeches and supportive boots help you relax the thigh and weight the ankle; a well-fitted helmet keeps you safe for lunge lessons. See our breeches collection, riding boots, and helmets for rider-friendly options.
At Just Horse Riders, we see this pattern every day in customer videos and yard conversations: start at your pelvis, let your legs hang, and add smart, simple drills. The result is a quieter canter, clearer aids, and a horse that goes better because you’re no longer chasing your lower leg.