

Introduction
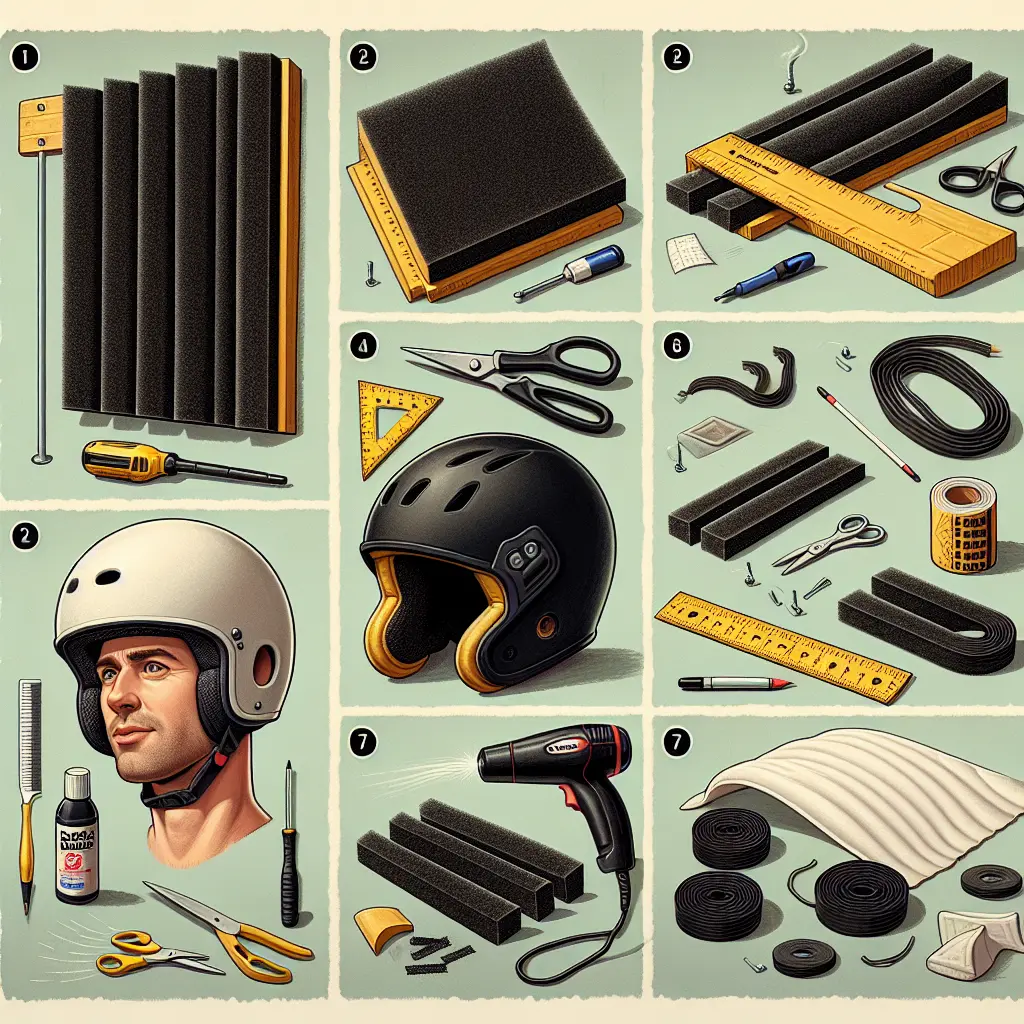
A properly fitted helmet is crucial for safety, comfort, and enhanced performance. Studies from the National Highway Traffic Safety Administration have shown that a well-fitted helmet can reduce the risk of injury by up to 60-70% during impacts[1][2]. Whether you're an avid cyclist, motorcyclist, or involved in tactical activities, it's essential to know how to resize your helmet using foam Velcro inserts. This method offers a custom fit without the need for a brand-new purchase, ensuring your helmet sits just right and provides optimal protection[1].
Why Resizing with Foam Velcro Inserts Works
The mismatch in helmet sizing often arises from variations in head shape. Thankfully, foam inserts that attach via Velcro are a solution and allow for precise adjustments in increments of 0.5 to 1 inch.[2][6]
Key Benefits of Foam Velcro Inserts
- Improved Safety: A snugly-fitted helmet remains stable during impacts, enhancing its capacity to absorb shocks[1].
- Custom Comfort: Users have reported improved helmet stability without slippage after weeks of regular use[5].
- Washable & Reusable: Velcro inserts can be easily detached for cleaning, thereby extending the helmet's life[8].
- Cost-effective: The price of foam sheets and Velcro pales in comparison to the expense of acquiring a new helmet.
Materials You'll Need
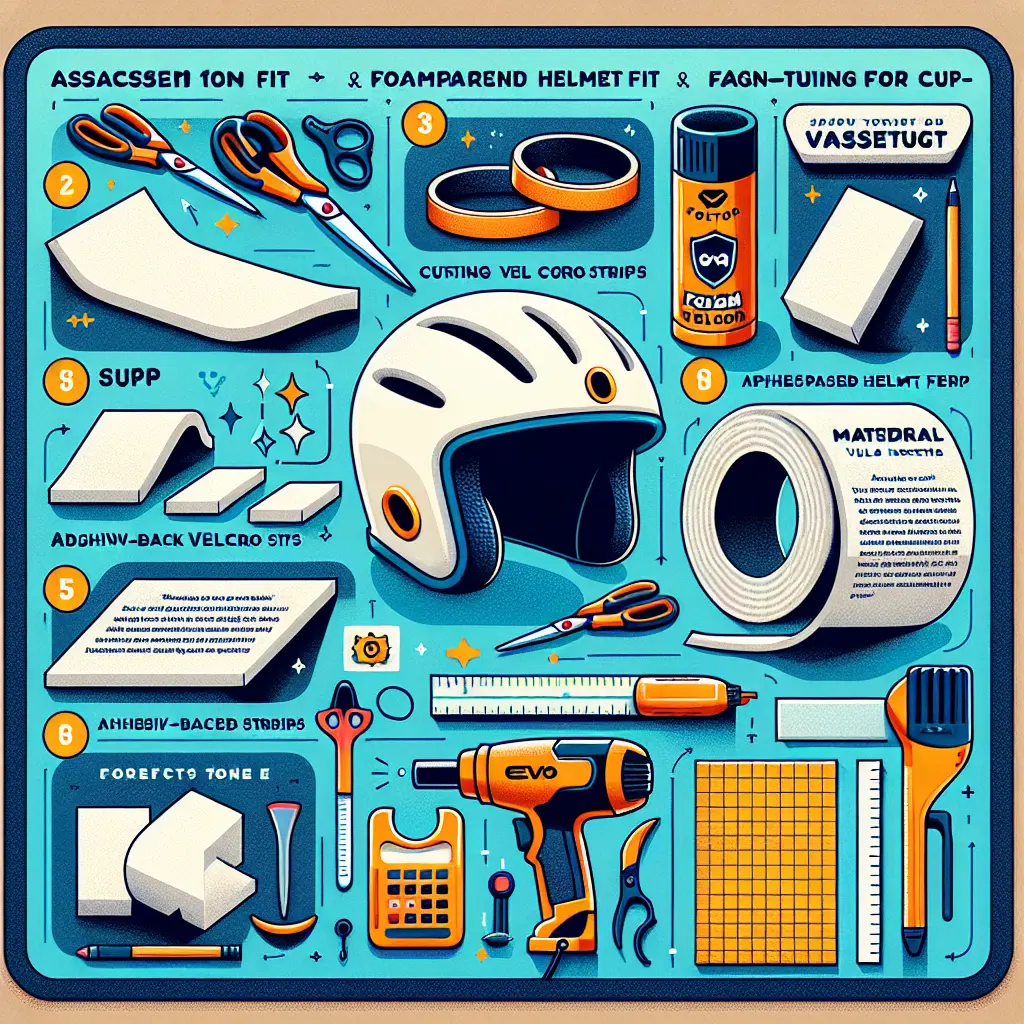
Here’s an affordable checklist for any Velcro-compatible helmet: bicycle, motorcycle, tactical, or sports:
- Foam Sheets: Opt for closed-cell EVA or EPP foam, ideally 0.5-1 inch thick. This is particularly useful for helmets like Gentex kits that offer pads in these sizes[2].
- Velcro Strips: Pair the hook side with the helmet shell, while the loop side should align with the foam, making sure to use industrial-strength, adhesive-backed options[2][4].
- Basic Tools: Scissors, ruler, marker, hairdryer for stubborn Velcro removal, and a screwdriver for extracting old padding[2][4].
- Optional Extras: You may use glycerin-lubricated needles for inflatable pads, or ready-to-go liners such as the Scorpion2 motorcycle pads[1][8].
Ensure you test-fit everything before you commit to permanent adhesion, as Velcro bonds its strongest 24 hours post-application[2].
Step 1: Assess Your Current Fit
Start by wearing your helmet sans accessories and test the fit in several areas:[1]
- Ride Height: Helmet's front edge should rest approximately 1 inch above the eyebrows. If too low, consider adding crown/top padding[1][6].
- Front-to-Back: The helmet should be snug yet comfortable, without pressure against the forehead or neck.
- Side-to-Side: Look for a slight pressure and no wobbling — a gap of 0.5-1 inch is ideal for play[2].
Step 2: Remove and Prepare Old Padding
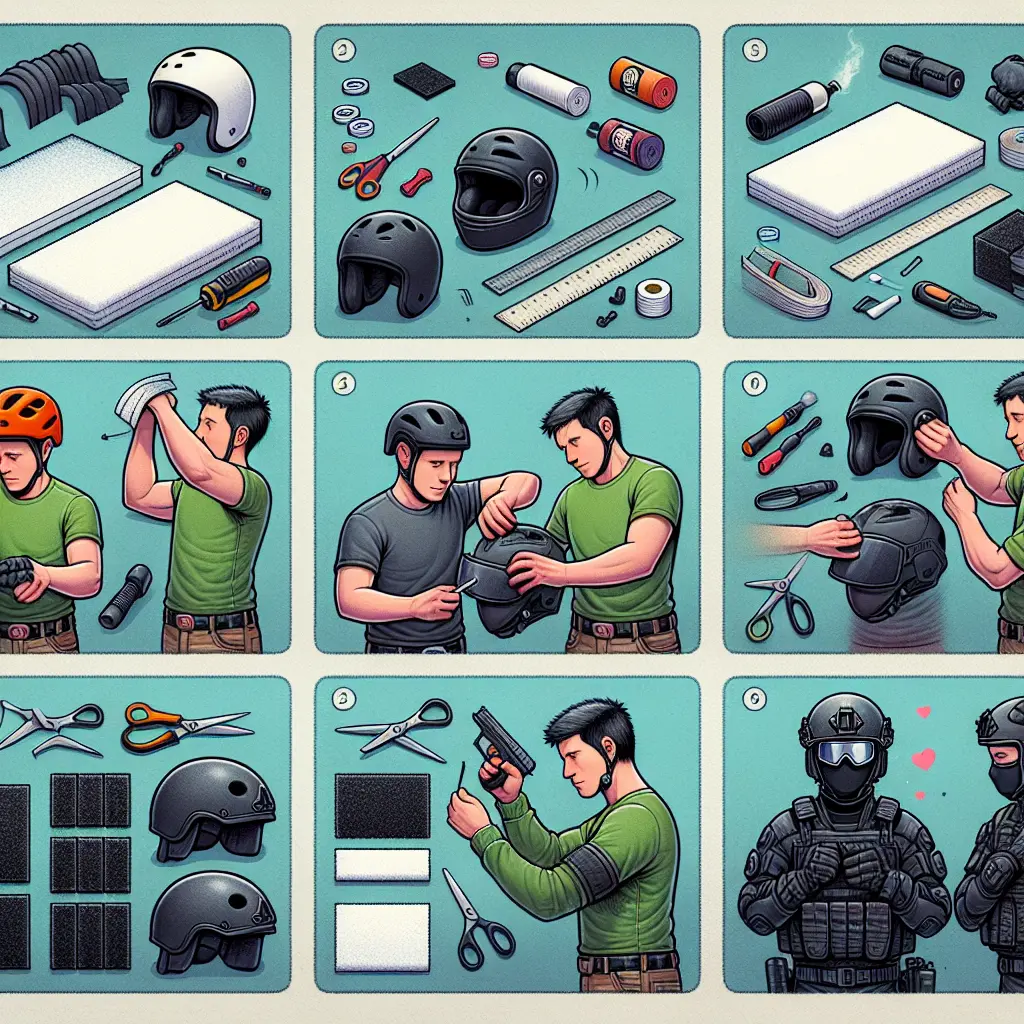
Removing existing padding should be gentle, considering most are attached by Velcro:
- Peel pads slowly from the Velcro, starting at the edges[1][7].
- For Velcro stuck to the shell, heat the adhesive with a hairdryer (don’t exceed 70°C) and carefully pry it off using a flat screwdriver[2].
- Clean any remaining residue with isopropyl alcohol before proceeding.[5]
Step 3: Cut and Attach Foam Inserts
To correctly resize the helmet, strategically cut foam pieces you intend to add:
- Make templates by tracing the helmet's interior contours onto paper, adding a 0.25-inch seam allowance[5].
- Cut foam sheets tailored for your specific needs (e.g., 3/4-inch rear pad for height adjustments)[2].
- Velcro the completed foam pieces either by sewing or gluing the loop side to the foam[5].
- Attach the hook side of the Velcro to the helmet shell, following specific diagrams wherever available. Make sure to press firmly and allow 24-hour settling time[2][4].
Step 4: Install and Fine-Tune for Perfect Fit
Final adjustments are crucial for your helmet fit to be just right:
- Start with the essential crown pad by aligning it correctly, either by inflation or Velcro attachment[1][6].
- Place the front pad, followed by side and rear installations, double-checking the fit by walking, jogging, or riding[1].
- Adjust any discrepancies by switching foam thickness, keeping key alignments in mind[6].

Common Fit Issues and Adjustments
| Common Issues | Solution | Foam Adjustment |
|---|---|---|
| Overall too loose | Add 0.5-1" crown/side foam | Increases height/width[1][2] |
| Forehead pressure | Switch to ½" rear pad | Relieves forward push[2] |
| Side-to-side rocking | Thicker side pads | Ensures lateral stability[6] |
| Sits too low | Try crown inflation or ¾" top pad | Elevates helmet by 1" above brows[1] |
Step 5: Maintenance and Safety Checks
- Weekly: Remove pads and wash them with mild soap, air-drying completely before reinstallation[7][8].
- Monthly: Inspect for Velcro wear and replace if peeling becomes evident[2].
- Adjust your helmet after significant weight loss or hair changes. Studies in 2023 highlighted that tailoring padding could reduce rotational forces by 40% in crashes[1][2].
Final Thoughts on a Secure Ride
Once your helmet is equipped with these custom upgrades, it evolves from mere headgear into a tailored protective shield. Riders across various disciplines have vouched for the transformative change, experiencing zero slippage over long periods[5][8]. Remember, a perfect fit could be life-saving. Always prioritize safeguarding over aesthetics and adhere to manufacturer guidelines for any specific model tweaks[1][2].