
One sticky clump of burrs in your horse’s forelock can turn into a sore eye and a shredded mane by the next day. Across the UK, late summer and early autumn see burdock burrs latch onto grazing horses, wadding into manes, tails and coats just when fields are at their lushest.
Key takeaway: Saturate burrs with baby oil or a detangler, break them up by rubbing with leather gloves, then finger-detangle from the bottom up — and tackle burdock plants in your fields before they seed.
What burdock burrs are and why they matter
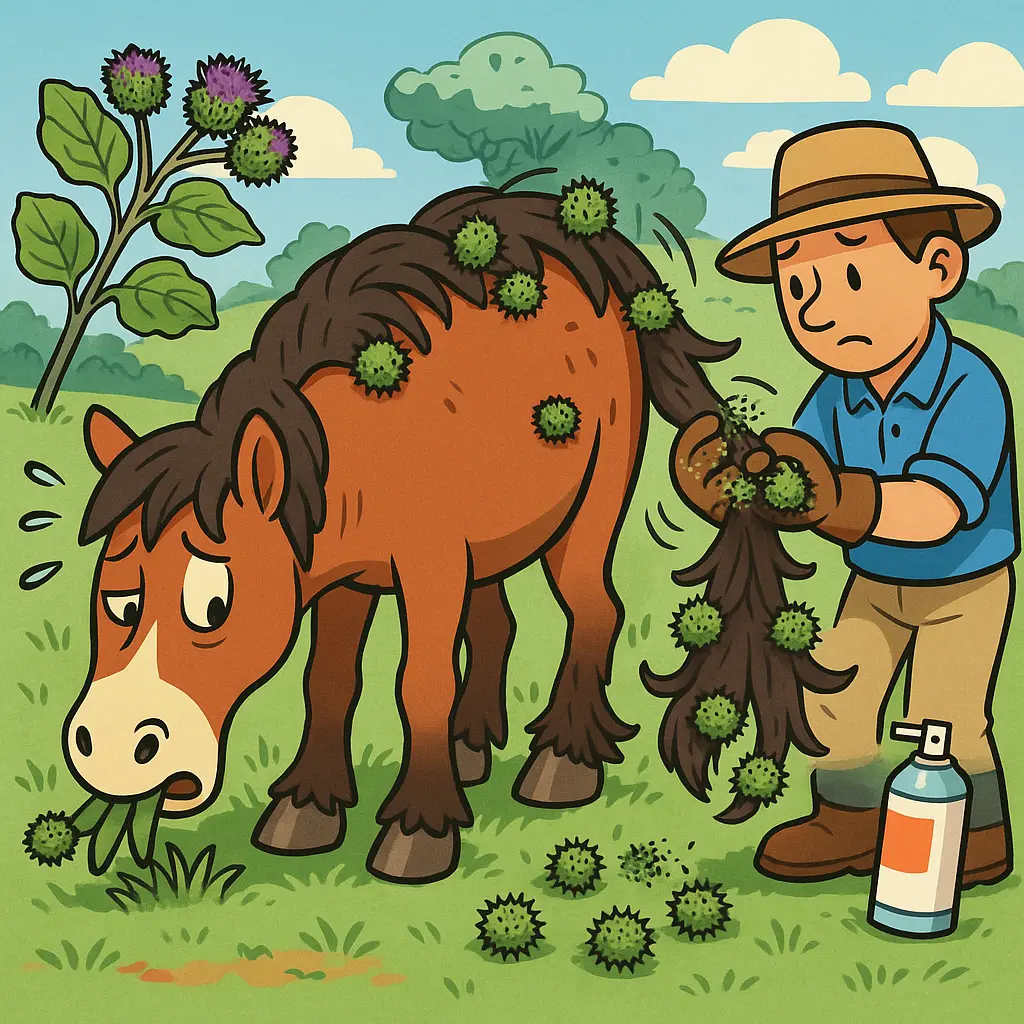
Burdock burrs are the hooked seed heads of a biennial weed that can cause eye infections, skin irritation and mouth sores in horses. In the UK they peak in late summer and early autumn and cling to manes, tails and coats as horses graze with heads down.
According to UK agronomy guidance, burdock grows a deep taproot up to 1.2 m long in its first year and, in the second year, throws up flower stalks as high as 6 ft; each burr holds hundreds of seeds that can remain viable for years (Agrigem). Those barbed burrs are designed to travel — on your horse. In compacted soils typical of busy livery yards, small patches spread quickly, making control and removal an ongoing job. Beyond the grooming headache, burrs are a welfare concern: they snag eyelids and lashes, abrade skin, and can lodge around the mouth during grazing, leading to infections and sores (Agrigem).
In UK pastures, burrs are especially troublesome at the end of summer and into autumn, when damp weather and dewy mornings make manes and tails tacky, and horses push through patches with heads low. That’s why strong, practical removal and prevention habits matter.
First steps when you find burrs on your horse
Secure your horse, check the skin and eyes, then soak the burr clumps with detangler or baby oil and wait 2–5 minutes before you touch a comb. Starting calmly and with plenty of slip prevents hair breakage and skin soreness.
Follow this quick sequence the moment you spot burrs:
- Tie up securely in a quiet space and talk to your horse — a calm start keeps them still while you work.
- Check for redness, swelling, cuts or any eye involvement. If you see irritation or your horse is painful, plan to call the vet after you’ve loosened the worst (more on this below).
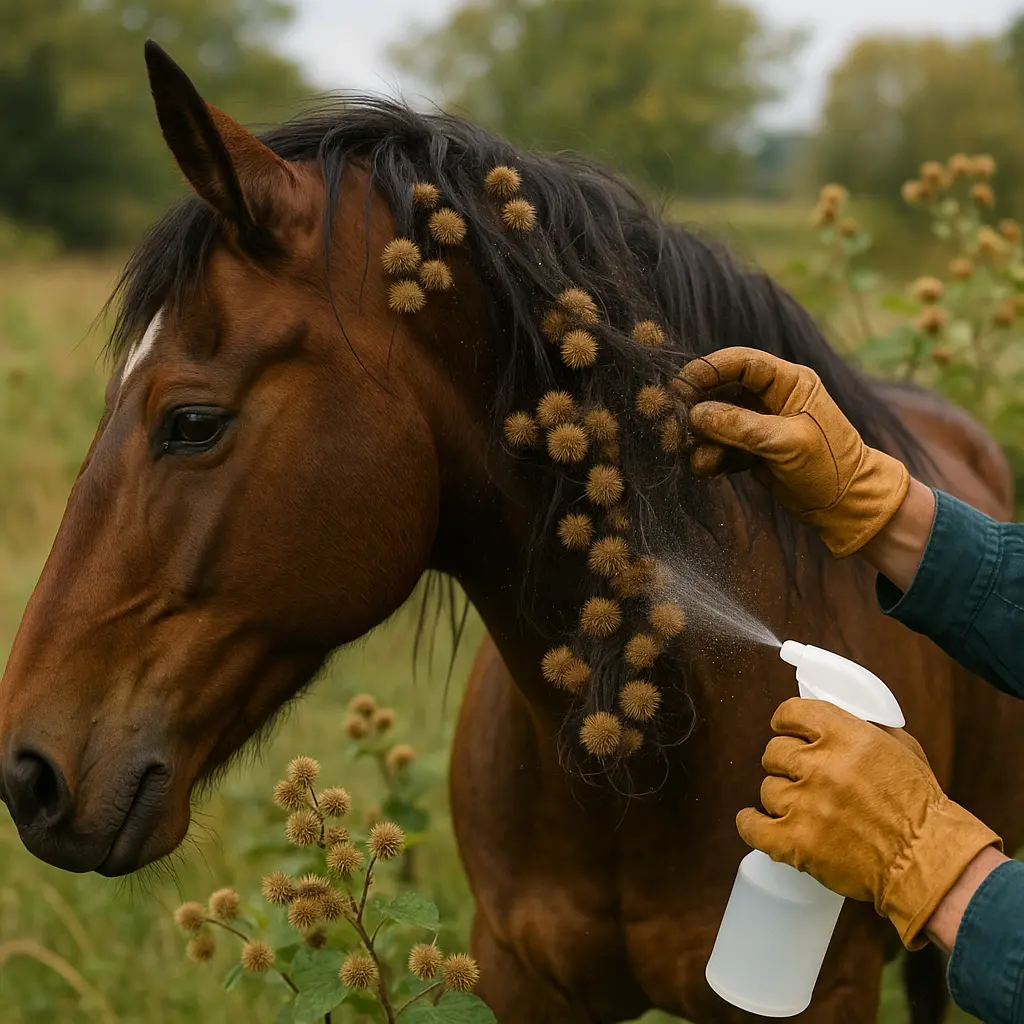
- Saturate the burr masses with baby oil, a mane-and-tail detangler or a coat sheen spray. Give it 2–5 minutes to soak in and reduce friction (Dial a Vet).
- Put on leather gloves to protect your hands from prickles.
- Only then start to work on the burrs — with your fingers first, never a fine-toothed comb.
For products that make this easier, keep a good detangler and a wide-toothed comb in your grooming kit — see our curated picks in grooming essentials. A few small treats in your pocket also help keep a fidgety horse focused during longer sessions.
The fastest, safest removal method
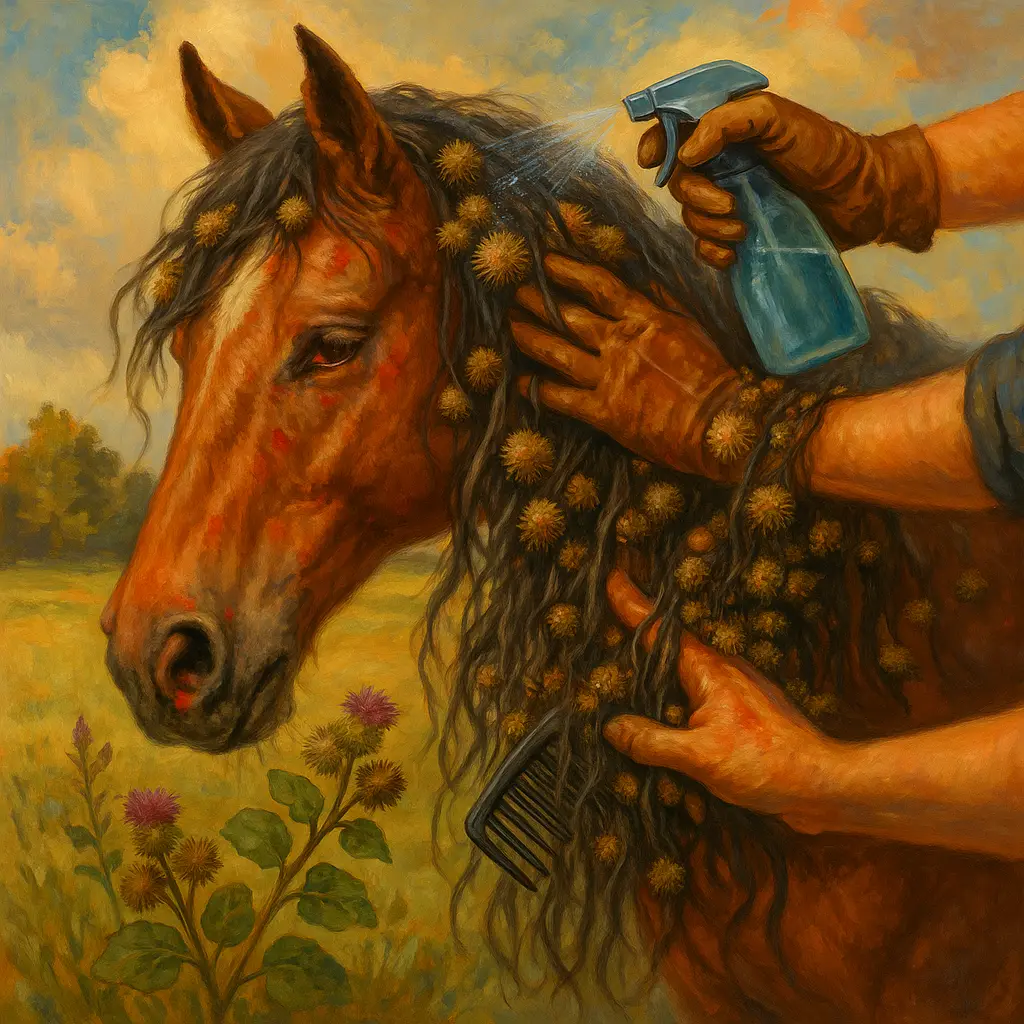
Use oil or detangler to reduce friction, break up the burrs by rubbing the clump between leather-gloved hands, then finger-detangle from the bottom up and finish with a wide-toothed comb. This preserves hair length and avoids painful tugging.
This technique is consistently recommended by experienced grooms, trainers and veterinary contributors because it’s quick, kind and effective:
“The best way to get them out is to use baby oil... grab a glob of burrs with both hands and rub back and forth... This breaks up the burrs into smaller pieces.” — Cherry Hill (source)
“Spray or soak with cooking spray, baby oil, or Show Sheen... grasp mass and rub back and forth with leather gloves to break up burrs, then detangle with fingers from bottom up.” — Kentucky Performance Products (source)
“Spray a bunch of sheen in... start pulling the hair apart from the burrs and then using a hoof pick pull it down until it falls out... work from the bottom.” — Kristi, dressage groom (source)
Once you’ve broken the clump into smaller pieces between your gloved hands, support a small section of hair and tease the fragments out with your fingers from the ends upward. Only when the bulk is out should you bring in a wide-toothed comb, and then very gently. Avoid scissors or fine combs — they rip and break hair and leave you with the dreaded “chewed” look.
Quick tip: Warm a little baby oil between your palms first, and set a timer for 3 minutes to let the slip do the work — you’ll save both hair and time.

Aftercare: protect the mane and tail once the burrs are out
After the burrs are out, wash, condition and protect the hair to prevent breakage and re-tangling. A clean, conditioned mane and tail are far less likely to snag the next time your horse brushes past a plant.
Finish your session with:
- A gentle shampoo and thorough rinse to remove burr dust and plant oils.
- A rich conditioner or leave-in detangler to keep hair slippery. Many of our riders like NAF’s grooming range — browse the latest from NAF.
- For tails, a loose braid and a tail bag for a few days after removal to stop fresh tangles while hair recovers. Don’t turn out in overly tight braids as they can strain hairs at the dock.
- A skin check: if you spot any rubs or abrasions, apply a soothing, vet-approved topical and keep the area clean and dry.
At Just Horse Riders, we recommend scheduling a little extra grooming time during burr season; clean, conditioned hair dramatically reduces how tenaciously burrs stick.
Stop burrs at the source in UK fields
Cut burdock tops before they seed and remove or kill roots on young plants; in compacted UK paddocks, dig deep or use selective herbicides on fresh leaves. Weekly field walks in late summer and early autumn stop small patches from exploding.
Burdock thrives in compacted soil, making gateways, feeding areas and well-trodden corners prime spots for an outbreak. A practical UK plan looks like this:
- Late summer to early autumn: walk the pasture with clippers and a feed sack. Lop the flowering tops and bag them before the burrs dry and shatter; bin securely (do not compost the burrs).
- Dig out or cut the taproot as deep as possible, especially in year one rosettes. The taproot can reach 1.2 m, so persistence is key (Agrigem).
- For larger infestations, consider selective herbicides on young leaves (e.g. Thrust with Activate G) applied according to label and grazing intervals. Seek professional advice and follow UK stewardship guidelines (Agrigem).
- Reduce compaction by rotating gateways or adding hardcore in muddy choke points; improved sward density makes it harder for burdock to re-establish.
Build it into your routine: quick daily checks of forelock, mane and tail; a weekly field walk during burr season; and a monthly pasture tidy-up. When you’re out checking hedgelines or roadside verges, stay safe with sturdy yard and riding boots and a bit of hi-vis if light is fading. On particularly wet spells, a lightweight turnout rug can help keep coats cleaner and less prone to matting with burr fragments.
When to call the vet
Call your vet if you see redness, swelling, broken skin, any eye involvement, or your horse reacts painfully — burrs can cause infections that need treatment. Prioritise eyes and muzzles; these areas are vulnerable to complications.
Veterinary contributors emphasise checking for irritation first and seeking advice if lesions or soreness are present before you start tugging at burrs (Dial a Vet). After removal, re-check within 24–48 hours: excessive rubbing, heat, discharge or a dull, swollen eyelid are red flags. Given the documented risk of eye infections, skin irritations and mouth sores from burrs (Agrigem), early intervention is always the kinder choice.
Your burr-busting kit: the essentials to keep in the tack room
Keep a small “burr kit” ready so you can sort tangles the same day. A few inexpensive items make a big difference to speed and comfort.
- Baby oil or cooking spray (£2–5): the cheapest slick agents that break the burr bond without yanking hairs (Cherry Hill; KPP).
- Mane and tail detangler or coat sheen (£10–20): longer-lasting slip; Show Sheen is a popular choice (grooming essentials).
- Leather grooming gloves (£10–25): protect hands while you rub burrs into smaller, manageable pieces (grooming essentials).
- Wide-toothed comb (£5–15): for gentle finishing once the big pieces are out.
- Tail bag (£15–30): keeps a freshly detangled tail clean and burr-free for a few days post-removal.
- Conditioner or leave-in detangler: NAF’s grooming sprays are customer favourites — see the latest from NAF.
- A calm-helper: a haynet and a couple of small treats to keep your horse settled during longer sessions.
- Budget back-up: check our rotating deals in the Secret Tack Room clearance for grooming kit bargains.
At Just Horse Riders, we recommend keeping these items together in a grab-and-go pouch so you can tackle burrs the moment your horse comes in from the field.
FAQs
Should I cut burrs out with scissors?
No. Scissors and fine-toothed combs shred and break mane and tail hair. Use oil or detangler, break clumps by rubbing between gloved hands, and finger-detangle from the bottom up; finish gently with a wide-toothed comb (Cherry Hill; KPP).
Can burdock burrs cause injuries beyond tangles?
Yes. Burrs can lead to eye infections, skin irritations and mouth sores in horses, so always check and treat the skin after removal and call your vet promptly if you spot redness, swelling or discharge (Agrigem).
What’s the cheapest UK product to loosen burrs?
Baby oil or generic cooking spray (£2–5) provide excellent slip on a budget. Horse-specific detanglers and sheen sprays also work very well and typically cost £10–20.
Is WD-40 safe to use on manes and tails for burr removal?
Some grooms mention it, but we don’t recommend it. Stick to equine detanglers, conditioners or baby oil to avoid residues or potential skin irritation (see the dressage grooming tip video here).
How do I stop burrs returning in my pasture?
Walk fields in late summer/early autumn and lop off burdock tops before they seed; dig or cut taproots on rosettes; and where appropriate use selective herbicides on young leaves, following label directions. Daily grooming catches small tangles before they become mats (Agrigem).
My horse hates sprays — what can I do?
Apply baby oil or detangler using your hands or a damp cloth instead of spraying. Work in small sections, supporting the hair, and give the product a couple of minutes to soak before you start to tease pieces free.
When should I call the vet for burr-related problems?
Immediately if there’s any eye involvement, broken skin, redness, swelling, heat, discharge or if your horse reacts painfully during removal. Burrs can cause infections that need veterinary care (Dial a Vet).