
Electric fencing is one of the safest, most flexible ways to manage UK horse paddocks — if you install it to the right standard. Done well, it keeps horses in, keeps the public safe, and stands up to wet, windy British weather.
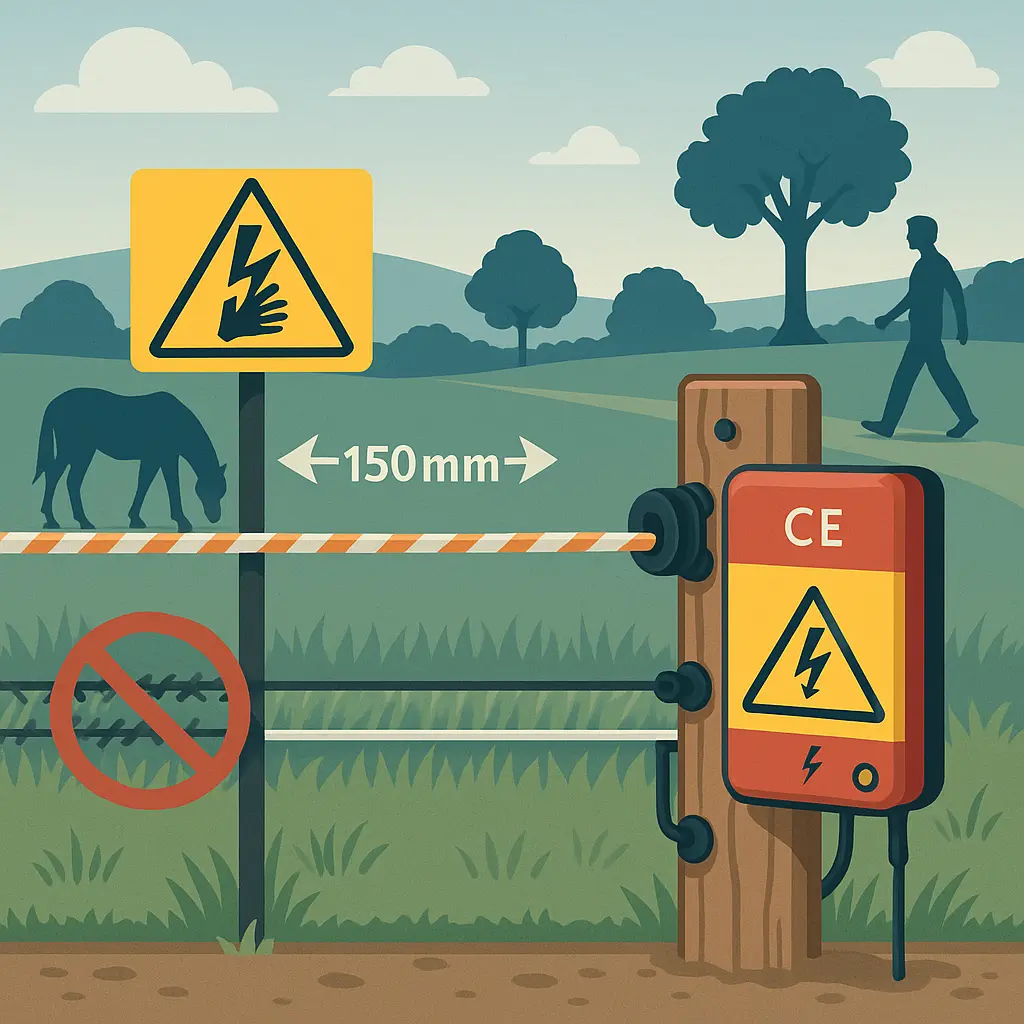
Key takeaway: Use a BS EN 60335-2-76 compliant energiser, keep 150 mm separation from any non-electrified wire, run only one energiser per fence, fit warning signs every 50 m next to public paths, and choose highly visible 20–40 mm tape with proper insulators and tensioning.
What UK rules make an electric fence safe for horses?
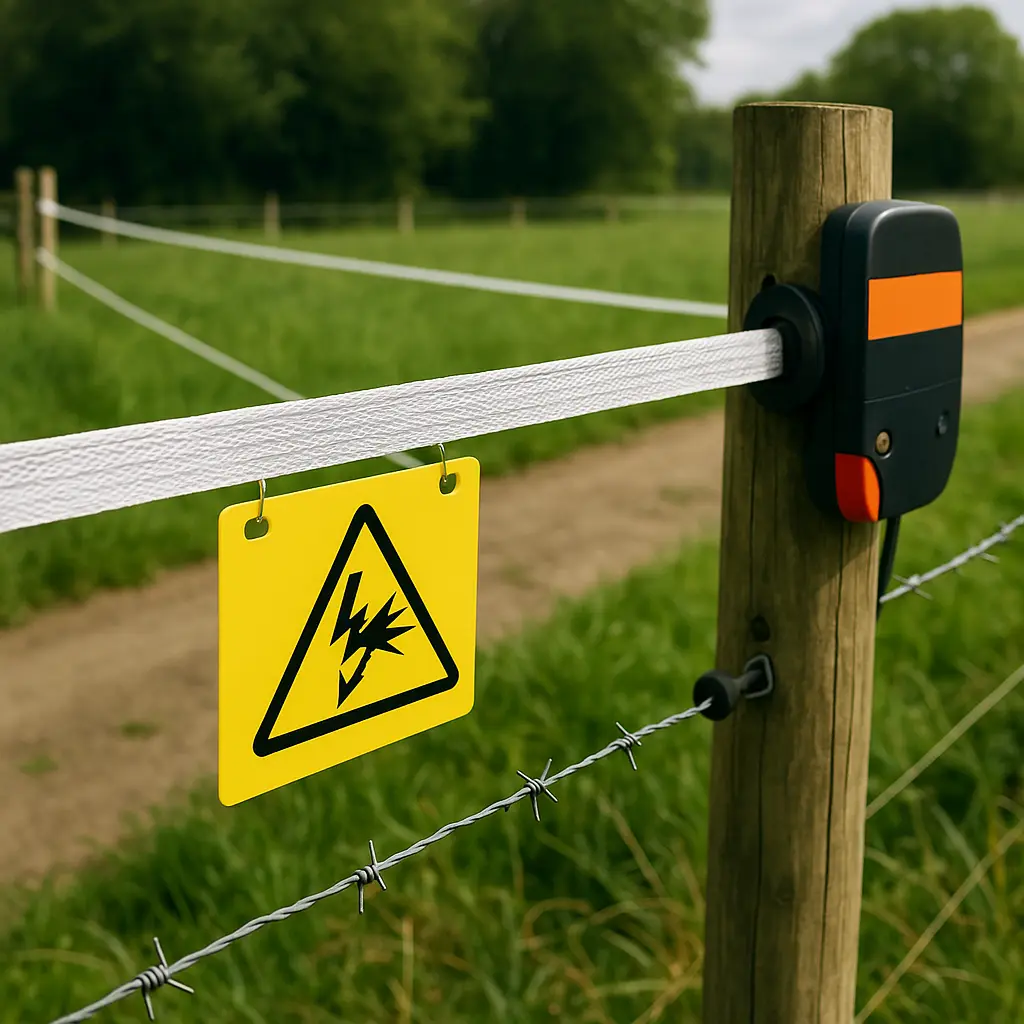
In the UK, electric fences are safe and legal when you use a BS EN 60335-2-76 compliant energiser, maintain 150 mm separation from non-electrified wires, power each fence from a single energiser or circuit, avoid barbed wire, and signpost public sides every 50 m.
BS EN 60335-2-76 limits pulse energy, duration and repetition rate so horses and people receive a brief, non-harmful shock rather than a continuous discharge. Reputable units carry CE or UKCA marking backed by a declaration of conformity. As UK specialists at Dalton Supplies put it:
“Reputable units are placed on the market with either Conformité Européenne marking or United Kingdom Conformity Assessed marking supported by a declaration of conformity... Buy compliant units from reputable suppliers, keep the paperwork, install in accordance with the manufacturer’s instructions and with the British Standard.” (Dalton Supplies)
BS EN 60335-2-76 also sets two essential layout rules highlighted by Professional Electrician:
“The supporting devices for the electrified wires should be constructed so that those wires are at least 150 mm from the vertical plane of the non-electrified wires... Not more than one energiser or one independent fence circuit of the same energiser should be connected to one fence.” (Professional Electrician)
Where fences run alongside public rights of way, you must display warning signs at least every 50 m. Gallagher specifies each sign should be a minimum of 200 x 100 mm with 25 mm letter height so they’re clearly visible (Gallagher).
Finally, never electrify barbed wire or run electrified conductors against it. The UK reference manual from Dovebugs is unequivocal:
“Barbed wire should not be used as a conducting wire in an electric fence or used in conjunction with any fence which has part of it electrified. There is a risk of serious injury from prolonged exposure to electric shocks.” (Dovebugs Electric Fencing Manual)
Even though there is no single “Electric Fencing Act”, the Health and Safety at Work etc. Act 1974, the Electricity at Work Regulations 1989, and the Animal Welfare Act 2006 all require that your installation prevents foreseeable danger — from signage and visibility to maintenance and safe energiser selection (Conwy Country Supplies).
How to choose the right energiser and power safely
Choose a CE/UKCA-marked energiser declaring conformity to BS EN 60335-2-76, fit an outdoor-rated RCD (IP44) set to 30 mA with a 40 ms maximum operating time at 5IΔn, and place the energiser earth at least 10 m from any mains earth.
A compliant energiser manages pulse energy and timing so wildlife and people don’t receive a dangerous continuous shock. Keep paperwork proving conformity (and your installation notes) with your yard records — it’s part of demonstrating safe practice should an incident occur.
Where mains supplies feed the energiser, Professional Electrician advises residual current device protection “with a rated residual operating current not exceeding 30 mA and an operating time not exceeding 40 ms at 5I∆n,” and to use IP44 equipment outdoors (Professional Electrician).
Earthing is the backbone of fence performance. Gallagher recommends placing the energiser earth at least 10 m from any mains earthing systems and using proper earth stakes driven into permanently damp ground if possible (Gallagher). Poor earthing is the most common cause of weak shocks.
Position live conductors away from normal touch height where the public may brush past, and always run a single energiser (or a single independent circuit from the same energiser) to any one fence to prevent excessive combined discharge. Test output regularly and record checks to comply with the Electricity at Work Regulations 1989.
Quick tip: If you’ll be walking field margins that adjoin lanes, wear visible kit such as hi‑vis rider gear and sturdy riding boots — especially on dark winter afternoons.
Tape, rope or wire: what’s best for horse paddocks?
For most UK horse paddocks, 20–40 mm UV‑stabilised tape is safest and most visible, with 40 mm best for permanent windy sites and 12–20 mm better for temporary strip‑grazing to reduce sag and “sail effect.”
Horses see broad white tape far better than thin wire, which is why UK safety guidance favours visible conductors near public paths and bridleways. Wider tape can catch the wind; in exposed fields a 20 mm or 12 mm tape reduces flutter and keeps tension.
When you want maximum visibility and strength, a premium 40 mm tape like Optima makes sense: 10 x 0.4 mm stainless steel conductors, just 0.85 ohms resistance, a hefty 330 kg break strain, and around £61 for a 250 m roll (Farmcare UK). This is ideal for semi-permanent perimeter lines and for habitually cheeky horses.
For lighter duty or temporary runs, a 20 mm option like Liveline offers value at £20.99 for 200 m with an 80 kg break strain — fine for rotational grazing if you keep post spacing tight and tension correct (Farmcare UK).
Never tie knots in tape: they break conductors and starve the line of power. Use proper tape connectors and tensioners so current flows across joins and corners. Reinforced edges reduce fray in wind and extend life in the UK’s damp winters and sunny summers.
High‑tensile wire has its place in permanent, stock‑fenced boundaries, but if you choose it, the BS specifies a minimum nominal diameter of 3.15 mm with a zinc coat weight of 275 g/mm² to BS443 and EN10244 (Dovebugs). For horses, wide, visible tape remains the safer default. And remember: barbed wire must never be electrified, and if it exists in a boundary, keep electrified lines at least 150 mm away in the same vertical plane.
Pro tip: In summer, combine visible tape with insect protection for sensitive horses. Our customers often pair reliable fencing with breathable fly rugs and sheets to keep paddock time comfortable.
Install posts, insulators and tension the right way
Use purpose-made in-line or tube insulators, wide-mouth screw‑in rings on timber posts, and proper tape connectors, then strain conductors tightly from end and corner posts.
Insulation is non‑negotiable. The UK reference manual advises using plastic or porcelain in‑line insulators and purpose‑made tube insulators; makeshift options like cut garden hose quickly attract moisture and contaminants, leading to leakage and shorts (Dovebugs).
Screw‑in ring insulators are fine for wooden posts and work with both rope and tape — just make sure you choose a wide‑mouth design so the tape isn’t crushed or split under tension (AVS Fencing). On corners and ends, fit strainer insulators rated for the pull you’ll apply.
Strain your lines properly. For permanent or semi‑permanent tape, tension from robust end and corner posts using manufacturer‑approved tensioners. For temporary strip lines, use reel systems and plastic posts set closer together to minimise sag in wind (AVS Fencing).
Step-by-step install basics:
- Plan line routes to avoid hedges/trees touching conductors and to keep the public side clearly signed.
- Set solid end and corner posts; intermediate posts at spacings tight enough to stop tape billowing (shorter spans in windy sites).
- Fit purpose-made insulators to every contact point; avoid staples and improvised materials.
- Run tape level and straight; connect sections with proper tape connectors (never knots).
- Attach warning signs at least every 50 m where a public path or bridleway runs alongside.
- Install the energiser, earth stakes and RCD as per manufacturer and BS EN 60335‑2‑76 guidance.
- Test voltage along the fence and troubleshoot any high‑resistance joins or vegetation shorts.
Quick tip: When you’re putting posts in on gloomy afternoons, high‑visibility layers help you be seen by road users and other yard staff. Consider a lightweight hi‑vis waistcoat or jacket and supportive, grippy yard‑ready riding boots.
Safe layouts near bridleways and public access
Provide a minimum 3 m usable width for equestrian access (4 m total between fences), set live wires 1 m outside that edge or shield them, and place warning signs every 50 m on public sides.
The British Horse Society (BHS) is clear that the path must be safe for all users without anyone being forced close to an electrified line. Their guidance states:
“Part of the width requirement is to provide safe passing for all users without any party having to go close to an electrified wire... If it is not possible to shield the wires, each wire must be taut between secure upright posts at least 1 m outside the edge of a useable width of no less than 3 m.” (BHS)
Along public rights of way, fit warning signs every 50 m, each at least 200 x 100 mm with 25 mm letters, so riders and walkers can clearly see the hazard (Gallagher). Keep electrified conductors at least 150 mm away from any nearby non‑electrified wires like stock or barbed strands to prevent combined shock risk (Professional Electrician).
On registered common land you’ll generally need Secretary of State permission to erect electric fencing unless it meets certain temporary criteria; always check in advance and prioritise highly visible tape to reduce risk to the public and loose stock (BHS).
Pro tip: When you’re turning horses out on grazed tracks beside rights of way, well-fitting protection can reduce knocks if they spook or play near boundaries. Browse supportive horse boots and bandages for daily turnout.
Maintenance, testing and troubleshooting in UK weather
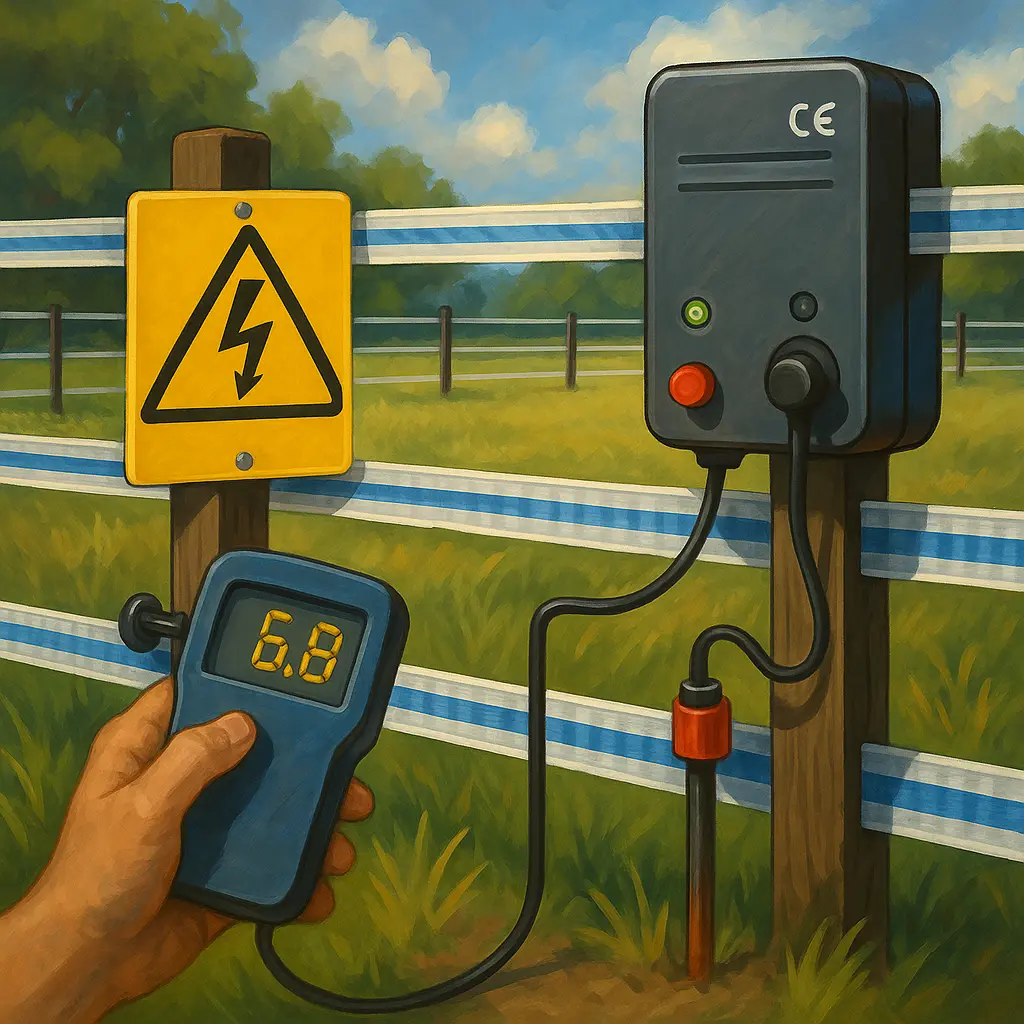
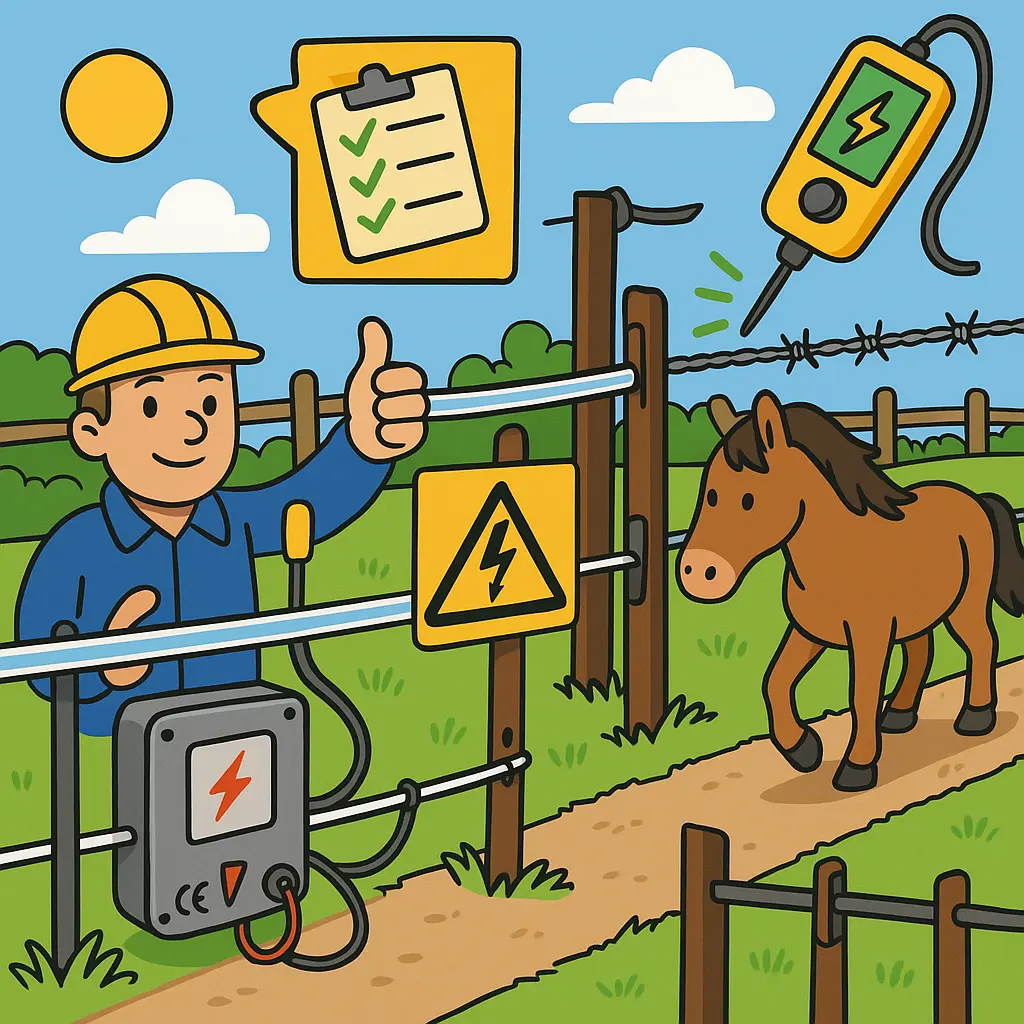
Inspect and test weekly in wet or windy spells, checking voltage, tape sag, insulators, vegetation, earthing, and sign integrity, and record checks to meet Electricity at Work expectations.
UK rain and winter mud reduce insulation and increase leakage across dirty insulators and algae‑coated tape. Dalton Supplies and BS EN 60335‑2‑76‑aligned guidance recommend routine testing and maintenance: walk the lines, clear vegetation, wipe down tape if it’s dirty with a damp cloth, and replace brittle insulators (Dalton Supplies).
Recheck earthing at the start of each wet season: additional earth stakes, correctly spaced and linked, can restore punch to long paddock runs. If voltage drops dramatically at joins or corners, replace worn connectors and retension tape. After storms, inspect for fallen branches and for any tape that has twisted or frayed.
Through winter and early spring, keep your horses comfortable as you rotate grazing. If you’re strip‑grazing behind tape, plan rug weights to conditions and choose hard‑wearing, waterproof turnout rugs so horses stay settled when grass is sparse and winds are up.
Quick tip: In summer, UV degrades poor‑quality tape. Choose UV‑stabilised options and store spare reels out of direct sunlight to extend life.
Budgeting your paddock fence: a practical shopping list
Expect tape to cost £20–£61 per roll depending on width and strength, with additional spend on a compliant energiser, earth stakes, insulators, connectors, tensioners and warning signs.
Here’s a simple example for a 200 m paddock line (one perimeter strand):
- Conductor: One 250 m roll of premium 40 mm tape (e.g., Optima, 10 x 0.4 mm conductors, 0.85 ohms, 330 kg break strain) at around £61 — great for visibility and longevity in windy sites (Farmcare UK).
- Or budget option: One 200 m roll of 20 mm tape (e.g., Liveline, 80 kg break strain) at £20.99 for temporary or sheltered runs (Farmcare UK).
- Energiser: BS EN 60335‑2‑76 compliant, CE/UKCA marked, correctly sized for your total fence length and vegetation conditions (keep the declaration of conformity).
- Power safety: IP44 outdoor RCD at 30 mA with ≤40 ms trip at 5IΔn, suitable mains cabling, and a minimum 10 m separation from mains earthing (Professional Electrician; Gallagher).
- Earth: One or more galvanised earth stakes, linked and driven into damp ground.
- Insulators: Wide‑mouth screw‑in rings for timber posts and in‑line/tube insulators for strain points (avoid improvised materials) (Dovebugs).
- Connectors and tensioners: Tape connectors for every join, corner and gate handle point (never tie knots), plus tensioners to maintain a tight, visible line.
- Warning signs: 200 x 100 mm minimum with 25 mm letters, fitted every 50 m along public‑facing sides (Gallagher).
- Posts: Permanent timber or T‑posts for perimeters; plastic step‑ins and reels for temporary strip‑grazing.
At Just Horse Riders, we recommend planning fieldwork around the forecast and kitting yourself out for comfort and safety. If you’re refreshing boundaries for winter turnout, browse durable winter turnout rugs from trusted brands like WeatherBeeta and Shires. On hot, fly‑heavy days, consider lighter paddock setups and add fly rugs for comfort. If you’re watching the budget this season, check our Secret Tack Room clearance to stretch your yard spend further.
Quick tip: Move horses away from your working area with a helper and a pocket of horse treats so you can tension and test lines without curious noses underfoot.
In summary: safe, visible and compliant fences keep horses and people safer
Safe UK electric fencing comes down to three things: a compliant energiser and power supply, highly visible and well‑insulated conductors, and thoughtful layout with clear signage and regular maintenance. Follow the BHS spacing rules, keep 150 mm from any non‑electrified wire, and test frequently — especially through wet, windy months. With the right kit and habits, your paddocks will be safer, tidier and easier to manage year‑round.
FAQs
Are screw‑in ring insulators suitable for electric fence tape instead of rope?
Yes — on wooden posts, screw‑in ring insulators work with both rope and tape as long as they have a wide mouth to prevent pinching and splitting the tape under tension. Choose purpose‑made plastic or porcelain designs and avoid improvised options (AVS Fencing).
Can I mix tape with existing rope fencing?
Yes for temporary upgrades, but keep at least 150 mm separation from any non‑electrified wires, power the fence from only one energiser or independent circuit, and use visible tape where the public or riders may pass. Strain tightly to minimise sag in UK winds (Professional Electrician).
What UK law applies to electric fences near bridleways?
The Electricity at Work Regulations 1989 and Animal Welfare Act 2006 require safe installation and maintenance, while BHS guidance mandates at least a 3 m usable width (4 m between fences) with wires shielded or set 1 m outside that edge. Fit warning signs every 50 m along public sides (BHS).
How often should I check tape and insulators in wet UK weather?
Check at least weekly in prolonged wet or windy spells: test voltage, clear vegetation, inspect insulators for cracks and contamination, and retension tape. This routine aligns with BS EN 60335‑2‑76 principles and the Electricity at Work Regulations’ expectation of ongoing maintenance (Dalton Supplies).
Is barbed wire allowed with electric tape?
No. Do not electrify barbed wire or run electrified lines against it. Where barbed wire exists, maintain at least 150 mm separation from the electrified conductor to reduce entanglement and shock risk (Dovebugs; Professional Electrician).
What’s the best tape for UK horse paddocks?
Choose UV‑stabilised 20–40 mm tape with multiple stainless‑steel conductors: 40 mm (e.g., Optima, 10 x 0.4 mm, 0.85 Ω, 330 kg, ~£61/250 m) for permanent, windy sites; 12–20 mm (e.g., Liveline, 80 kg, £20.99/200 m) for temporary or sheltered runs (Farmcare UK).
Do I need warning signs, and what size should they be?
Yes where a fence borders a public path or bridleway. Fit signs every 50 m, at least 200 x 100 mm with 25 mm letter height, so they’re clearly visible to all users (Gallagher).