
A glossy, well-presented trailer sells faster, photographs better and reassures buyers that your horse has travelled in something cared for. If your Cheval Liberté has gone a bit chalky or dull from British sun, salt spray and farm life, you can bring back the shine in a single weekend with a methodical clean, correction and protection routine.
Key takeaway: Restore a faded trailer by deep cleaning, removing bonded grime, correcting oxidation on gelcoat and aluminium with the right products for each surface, then sealing and detailing for a long-lasting shine buyers can see.
Why trailers fade — and what finish you’re working with
Fading is caused by UV oxidising gelcoat/polyester and aluminium surfaces while traffic film and fallout embed into the pores, so you must identify each material before choosing a cleaner or polish. Most modern horse trailers, including many Cheval Liberté models, combine several finishes: polyester/gelcoat roof and nose cone, aluminium plank sides (often anodised), a galvanised steel chassis and A-frame, painted hardware, acrylic windows, rubber mats and ramp coverings, plus vinyl graphics and plastic trims.
Before you start, walk the trailer and note what’s what. Gelcoat/polyester looks like a fibreglass boat or caravan panel; it chalks to the touch when oxidised and responds well to a marine-style restorer. Aluminium planks usually have a consistent silver tone; if they’re anodised, the surface is a thin protective layer you should treat gently and never cut through with abrasive compounds. Painted metal can be polished more like a car. Checker plate steps, hinges and trim pieces are generally bare aluminium and can be brightened with a dedicated metal polish. Rubber, vinyl and plastics need non-abrasive, silicone-free dressings rather than cutting compounds.
Knowing your materials avoids the classic mistake of using harsh traffic film removers (TFR) or strong acids/alkalis on anodised aluminium, which can permanently streak or dull it. If in doubt, test a small, inconspicuous spot and choose the mildest product that does the job.
Step 1: Safe deep clean without dulling the finish
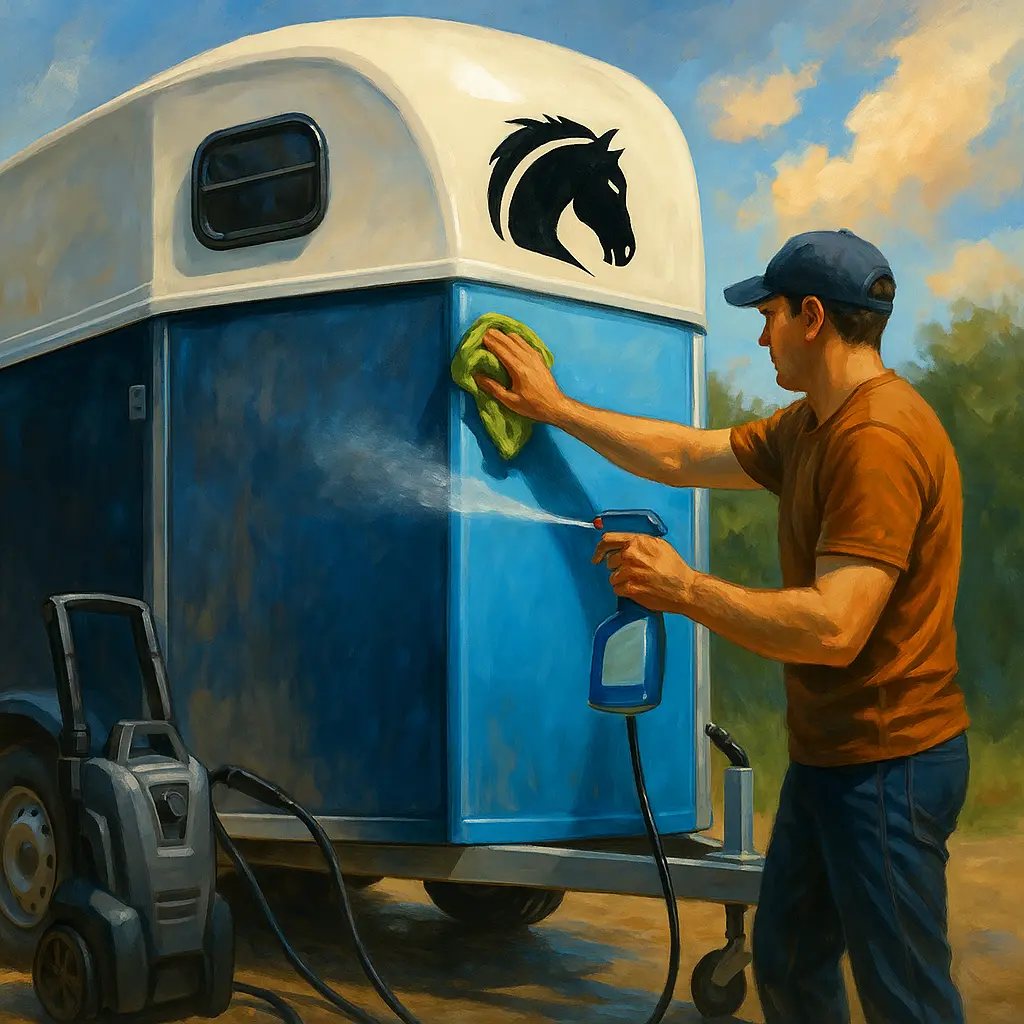
Use a pH-neutral shampoo with a low-pressure rinse to avoid streaking or dulling anodised aluminium, and let the trailer dry with vents and windows open. Start with a thorough pre-rinse from top to bottom to float off loose grit and mud, keeping the water fan wide and your lance a sensible distance from seals, window edges and electrics.
Work panel by panel using a wash mitt or soft brush and a bucket of pH-neutral shampoo; keep two buckets (wash and rinse) to avoid dragging grit. Apply foam or shampoo from the roof and nose cone down the sides and doors, then the wheels and under-arches last. Avoid blasting around marker lights, the breakaway cable, the plug, hinges and ramp springs. High-pressure washers are useful, but restraint is key: let the detergent do the work and use the rinse to carry dirt away rather than chiselling at it.
Rinse thoroughly and open windows and roof vents so the interior can air. Cleaning promptly after use helps prevent rust and corrosion forming on fasteners and hardware, and drying fully reduces the chance of musty odours. For a safer, comfier wash day, swap into waterproof yard footwear from our horse riding boots range, and repurpose durable sponges and soft brushes from your grooming kit for rubber mats and seals.
Step 2: Decontaminate – remove traffic film, iron and tar
Use dedicated tar and iron removers on gelcoat and painted surfaces only, then clay those panels to pull out bonded grime; avoid aggressive chemicals on anodised aluminium. After washing, you’ll often feel tiny bumps even though the surface looks clean — that’s bonded traffic film, tree sap, tar and fallout that keep panels looking drab.
On polyester/gelcoat and painted metal, spray a tar remover on visible spots (near wheel arches and lower panels), allow it to work, then wipe away and rinse. Follow with an iron fallout remover on those same safe surfaces to break down embedded ferrous particles, then rinse thoroughly. Avoid these products on raw or anodised aluminium because they can stain. On safe panels only, a gentle clay bar with plenty of lubricant will leave them glassy-smooth and ready for polishing. Rinse and dry again.
Step 3: Restore gloss to gelcoat/polyester panels
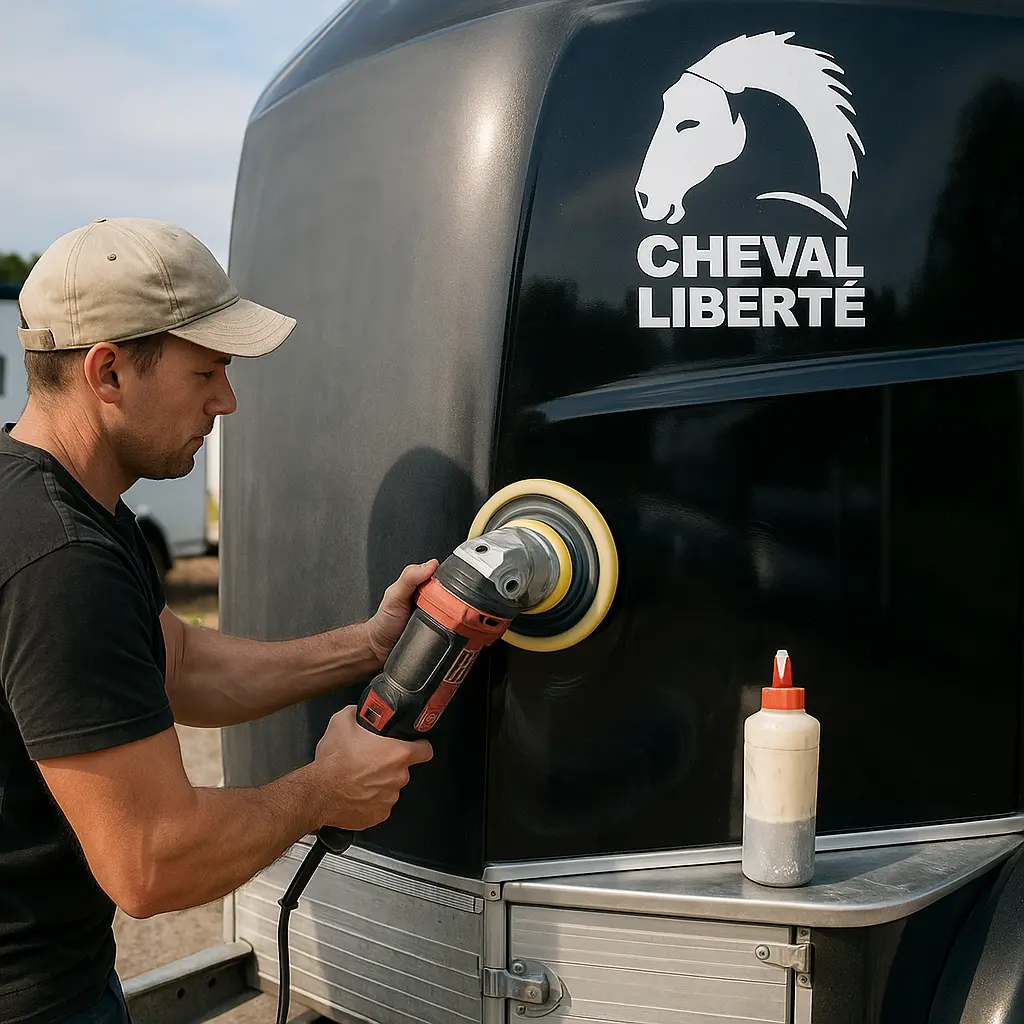
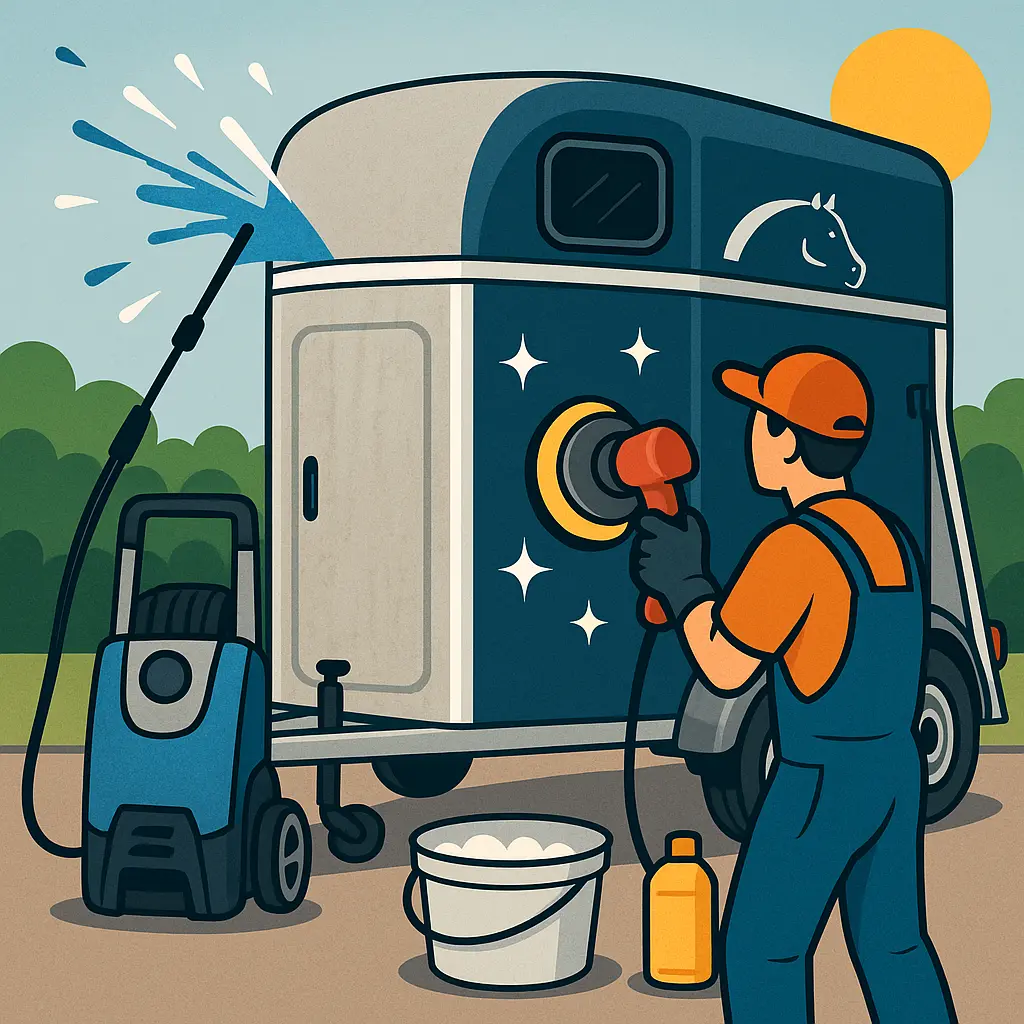
Polish chalky gelcoat with an oxidation remover by machine or hand, then protect it with a UV-resistant wax or sealant. Gelcoat responds brilliantly to the same process used on boats and caravans: cut the oxidation back, refine the finish, then lock in the shine.
Mask edges of vinyl graphics, rubber trims, window rubbers and unpainted plastics with low-tack tape so you’re not contaminating them with compound. If you have a dual-action (DA) polisher, start with a medium foam pad and a gelcoat-safe oxidation remover; work a 40–60 cm square at a time, keeping the pad flat and the speed moderate. Wipe residue with a clean microfibre and assess. Severely chalked gelcoat may need a second, lighter refining pass for maximum gloss. If you’re working by hand, use a dedicated gelcoat restorer and plenty of elbow grease, focusing on the nose cone and roof where the sun bites hardest.
When you’re satisfied with the correction, apply a UV-protective wax or polymer sealant designed for gelcoat to slow future fading. Work methodically and thinly; two light coats 12–24 hours apart give better coverage and durability than one heavy application. Avoid getting wax on unpainted plastics as it can stain white. This “correct and protect” step is where the biggest visual gain happens — it turns that chalky bloom into a deep, even gloss that photographs well.
Step 4: Brighten aluminium without damaging anodising
Clean anodised aluminium gently and seal it with a non-abrasive protectant; reserve metal polish for bare checker plate and non-anodised trims, working with the grain. Anodised panels have a hard, thin protective layer — once cut through, it cannot be replaced — so avoid abrasive compounds and strong alkaline or acidic cleaners.
After washing, use a mild, pH-neutral cleaner and a soft microfibre to remove any residual marks, then apply a synthetic sealant formulated for metals to deepen the sheen and add water beading. Work in straight lines rather than circular motions to minimise the risk of visible patterns. For bare aluminium checker plate on steps, fronts or trims, a dedicated metal polish will lift oxidation and restore brightness; use a foam or microfibre applicator and buff with a clean towel. If you’re unsure whether a piece is anodised, assume it is and stick to gentle cleaning and sealing only.
Galvanised chassis and under-gear aren’t meant to be shiny; keep them clean and dry. If you spot small areas where the galvanising has been compromised and you see orange rust on underlying steel, wire-brush lightly, clean, and touch in with a zinc-rich primer followed by a suitable topcoat to inhibit further corrosion. Avoid machine polishing on galvanised surfaces.
Step 5: Plastics, rubber and the small details that sell trailers
Dress black plastics and rubbers with a silicone-free trim restorer, brighten light lenses, and replace tired decals to modernise the look. Faded mudguards, bumper trims, handles, gaskets and the spare wheel cover all drag the eye; a dedicated exterior trim dressing restores a deep, even factory look without greasy smear.
Work methodically around the trailer: plastic arches, buffers, door handles, window surrounds, ramp grips and tie rings. Clean first, then apply a small amount of dressing to an applicator, working it in and wiping excess to avoid streaks in rain. Keep dressing off treaded areas of tyres and ramp surfaces to maintain grip. Clear acrylic windows can be revived with a plastic-safe polish to remove haze and fine scratches — avoid glass polishes which can be too aggressive for acrylic.
Lighting sells safety. Clean and polish lenses, replace any cracked or cloudy ones, and confirm all bulbs illuminate, including number-plate lights and side markers. A fresh, correctly spaced number plate, a clean breakaway cable and a hitch head that’s clearly greased and cared for all build buyer trust. If vinyl graphics are crazed or dated, carefully remove them with gentle heat and an adhesive remover, then either leave the trailer clean and neutral or apply fresh decals for a crisp, modern finish.
Staging matters in photos and viewings. A neat tack locker looks smarter with coordinated saddlecloths and boots — a couple of clean pads from LeMieux instantly elevate presentation — and any mismatched odds and ends can be replaced cost-effectively with finds from our Secret Tack Room clearance before you list.
Inside counts: odour, floor and safety presentation
Steam-clean or scrub rubber, flush out crevices, air thoroughly, and document floor, brake, light and tyre checks for buyer confidence. Buyers will step inside, breathe in and look down first, so make the interior feel hygienic, bright and safe.
Open the ramp and all doors, lift any removable mats and sweep out. Wash the floor, walls and ramp with a mild soap solution that’s safe around horses, then rinse away thoroughly. Avoid blasting high-pressure water at timber edges, wiring, light housings and ramp springs; let cleaning products soak, agitate with a soft brush and rinse gently. To reduce odours, hot water and ventilation are your friends; let the trailer dry completely with windows and vents open. A light, horse-safe disinfectant or steam cleaner can help neutralise smells in porous rubber and cracks. Clean promptly after each use to prevent rust on exposed fasteners and to stop urine residues etching rubber and aluminium.
While mats are up, inspect the floor. Whether it’s aluminium or timber, you’re looking for corrosion, soft spots, dark staining or any movement at fixings. Photograph the floor clean and dry, and be prepared to show video of a screwdriver tap test across the boards or a moisture reading if you have the kit. Check ramp hinges, springs and safety latches function smoothly and quietly; lubricate where appropriate, wipe off excess and keep anything that could mark horses well away from stepping areas.
Now run a road-safety checklist. Confirm every light works, the 7- or 13-pin plug is clean and secure, the breakaway cable is intact and tyres are in good condition with healthy tread and no sidewall cracking. Many buyers are influenced by the British Horse Society’s guidance to perform routine trailer checks before every journey, so include in your advert that you’ve verified lights, brakes, tyres, floor and ramp. For any roadside demonstration or test-tow, pop on some hi-vis if you’re working near lanes, and make sure the hitch and jockey wheel operate smoothly. At Just Horse Riders, we also recommend keeping a little box of horse treats to hand on viewing day — if a buyer asks to see a loading demonstration, a positive association helps the horse step on quietly.
Protect the shine and photograph it to sell faster
Finish with a durable sealant, then photograph the trailer clean, dry and uncluttered in bright overcast light with doors open. A quality synthetic sealant or hybrid wax will lock in your hard-won gloss, add slickness so muck releases more easily, and slow UV fade. Apply thinly, allow to cure, then buff to a crisp, reflective finish.
When it’s time to shoot your advert, roll the trailer onto a clean, level surface. Overcast daylight is perfect for even, glare-free images; if it’s sunny, shoot early or late when the light is soft. Take wide, square-on shots of each side, front and rear, then open the rear ramp and front ramp/doors for spacious interior photos. Include close-ups of the hitch, jockey wheel, breakaway cable, tyres (showing tread and date codes), floor (mats lifted), ramp surface and any recent maintenance. Remove personal kit so the space looks bigger, but leave a couple of neat, colour-coordinated pieces to suggest care and organisation. In your description, list what you’ve done: deep clean, gelcoat polish and seal, gentle aluminium cleanse and seal, interior disinfected and aired, lights/tyres checked, receipts on file. That gives buyers a reason to prioritise your ad.
Quick tip: A plain background and parked 2–3 metres from a hedge or wall avoids distracting reflections and makes the bodywork look smoother in photos.
Avoid these common mistakes that cost you shine (and value)
Using harsh TFR on anodised aluminium leaves permanent streaks; always choose pH-neutral products for routine washing. Machine-polishing gelcoat like car paint risks dry pads, hot panels and “pigtails” — keep pads clean, use moderate speed and work small areas. Skipping decontamination means you grind road grit into the finish while polishing, reducing gloss and leaving micro-marring. Leaving mats down after washing traps moisture and invites corrosion, odours and mould; always lift, rinse underneath and air with vents open. Finally, over-dressing tyres and ramp surfaces creates slip risk; keep dressings away from treads and footfalls.
What to DIY and when to call a professional valeter
You can achieve a dramatic improvement yourself with a wash, decon, gelcoat polish and seal, plus plastic/rubber dressings and interior refresh over a weekend. Consider calling a professional if gelcoat is heavily oxidised, panels are badly scratched, decals need full removal and refit, or you’re short on time before a sale. A pro with a dual-action polisher, gelcoat-specific compounds and safe techniques on anodised aluminium can often deliver a near “as new” look faster, and the invoice becomes part of your sales pack, demonstrating stewardship to buyers.
At Just Horse Riders, we recommend doing the simple wins yourself first — safe wash, gentle decon, interior odour control and basic detailing — then assessing whether specialist correction is needed. Even a careful DIY refresh pays back in better photos, more enquiries and a smoother sale.
FAQs
How can I tell if my trailer panels are gelcoat or painted metal?
Gelcoat/polyester panels are common on roofs and nose cones; they look like caravan or boat panels and chalk white when rubbed if oxidised. Painted metal has a uniform paint layer over steel or aluminium and will usually show chips down to bare metal if damaged. Aluminium plank sides may be anodised (a protective layer) — they’ll have a satiny, consistent silver tone without visible paint edges. Treat gelcoat like boat/caravan finishes, painted metal like car paint, and anodised aluminium with gentle cleaners and sealants only.
Is a pressure washer safe on a horse trailer?
Yes, if used sensibly: keep the lance back, choose a fan pattern, and avoid direct jets at seals, window edges, marker lights, wiring and ramp springs. Pair it with a pH-neutral shampoo so the detergent lifts dirt rather than forcing water into crevices. After washing, let the trailer dry completely with vents and windows open to clear moisture from the interior.
Can I machine polish anodised aluminium?
No — avoid abrasive machine polishing on anodised aluminium because the protective anodic layer is thin and, once cut through, cannot be restored. Clean gently with pH-neutral products, then apply a non-abrasive metal sealant for a subtle sheen and protection. Reserve metal polishes for bare aluminium such as checker plate trims.
What’s the best way to remove odours from the interior?
Lift mats, wash and rinse thoroughly with a mild, horse-safe soap, then let everything dry fully with windows and vents open. Steam cleaning can help lift embedded grime from rubber and crevices without harsh chemicals. Regular cleaning after use and thorough drying are the simplest ways to prevent smells returning.
How do I safely remove old graphics?
Warm the vinyl gently with a hairdryer or low-heat gun and peel back at a shallow angle to avoid tearing. Use a citrus-based adhesive remover to clear residue, then wash and polish the area to even the gloss. Take extra care over gelcoat to avoid heat damage, and tape around edges to keep remover off plastics and rubbers.
What photos do buyers want to see in the listing?
Clear, well-lit shots of each side, nose and rear; interior with doors and ramps open; the floor with mats lifted; close-ups of the hitch, breakaway cable, jockey wheel, tyres (including date codes), lights illuminated, and any recent maintenance or upgrades. Keep the space clutter-free and shoot in bright overcast light for even, flattering images.
Do I need to replace tyres before selling?
While not always mandatory, many buyers prioritise recent, healthy tyres. Inspect tread, sidewalls and date codes; if tyres are significantly aged or cracked, replacing them can remove a common objection and improve safety perception. At minimum, present clean wheels and tyres at the correct pressure and note their age and condition in your advert.
Ready to start? Block out a weekend, gather your wash gear and microfibres, slip into sturdy yard boots, and pull a couple of extra sponges from your grooming kit. A safe wash, smart correction and careful detailing will put real money back into your pocket when the right buyer sees that shine.