

Understanding Horse Lorry Hook-ups: Troubleshooting Common Electrical Issues
Have you ever found yourself cursing at non-functional brake lights or frantically checking your trailer connections mid-journey? You're not alone. Proper electrical hook-ups are critical for safe horse transport. These seemingly minor functions, like lighting and brake systems, can make the difference between a smooth ride and an on-road disaster. And nobody enjoys being caught in the dark (literally!).
What Are Horse Lorry Hook-ups and Why Do They Matter?
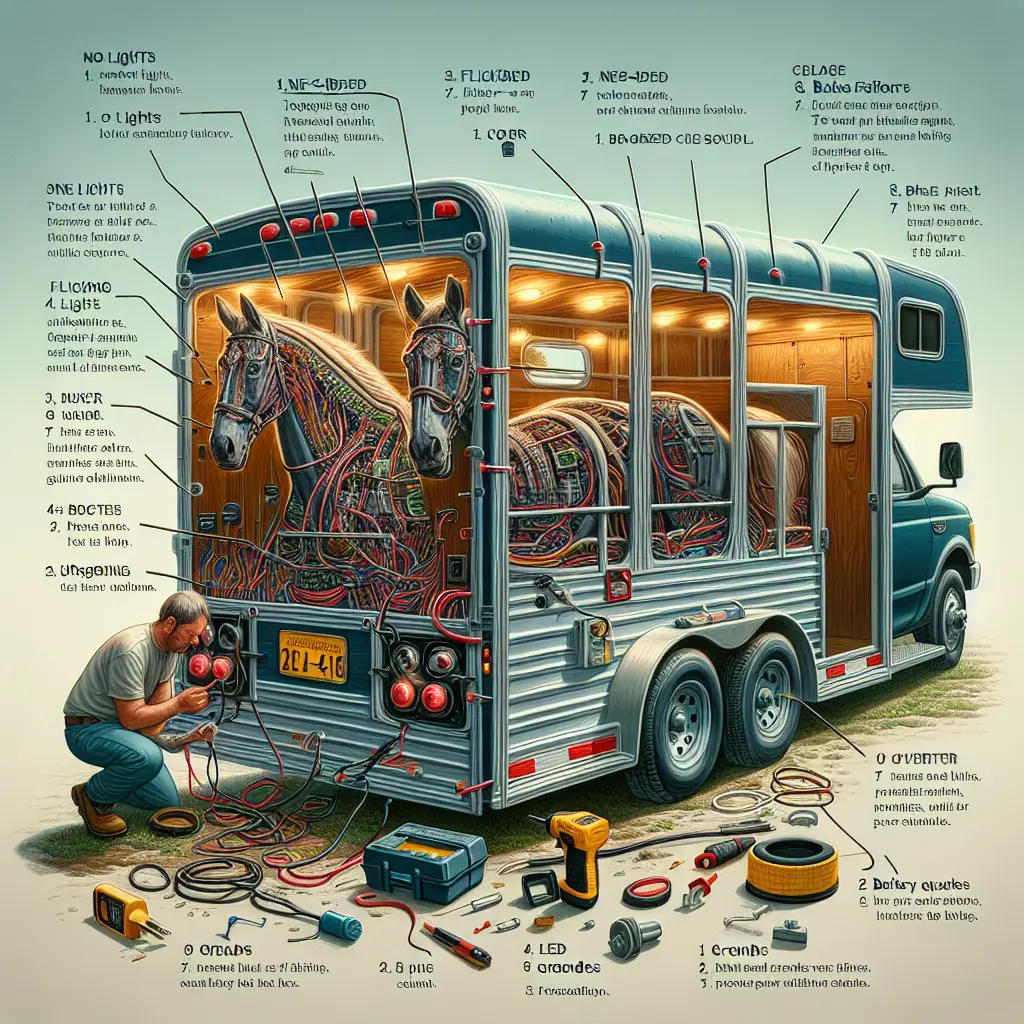
A horse lorry hook-up involves connecting the tow vehicle to the trailer's electrical system using plugs, typically 7-pin or 13-pin. This connection ensures that everything from tail lights to turn signals functions correctly. Proper hookups prevent hazards and fines, potentially saving you up to £1,000 in penalties for failing lights.
Common Electrical Issues in Horse Lorry Hook-ups
From failing lights to brake issues, about 70% of electrical problems in trailers stem from faulty connections or grounds. Major ones include:
- No lights at all: Likely a ground failure.
- Intermittent or flickering lights: Loose connections are often the culprit.
- Single-side lighting failure: Think damaged wiring or blown fuses.
- Brake signal issues: Possibly related to brake controller faults.
Frequency of Issues
Repair shops cite these frequent troubles:
- No tail/brake lights due to bad ground—common at 50% incidence.
- Turn signals malfunctioning on one side, appearing 25% of the time.
- 20% see flickering lights due to loose connections.
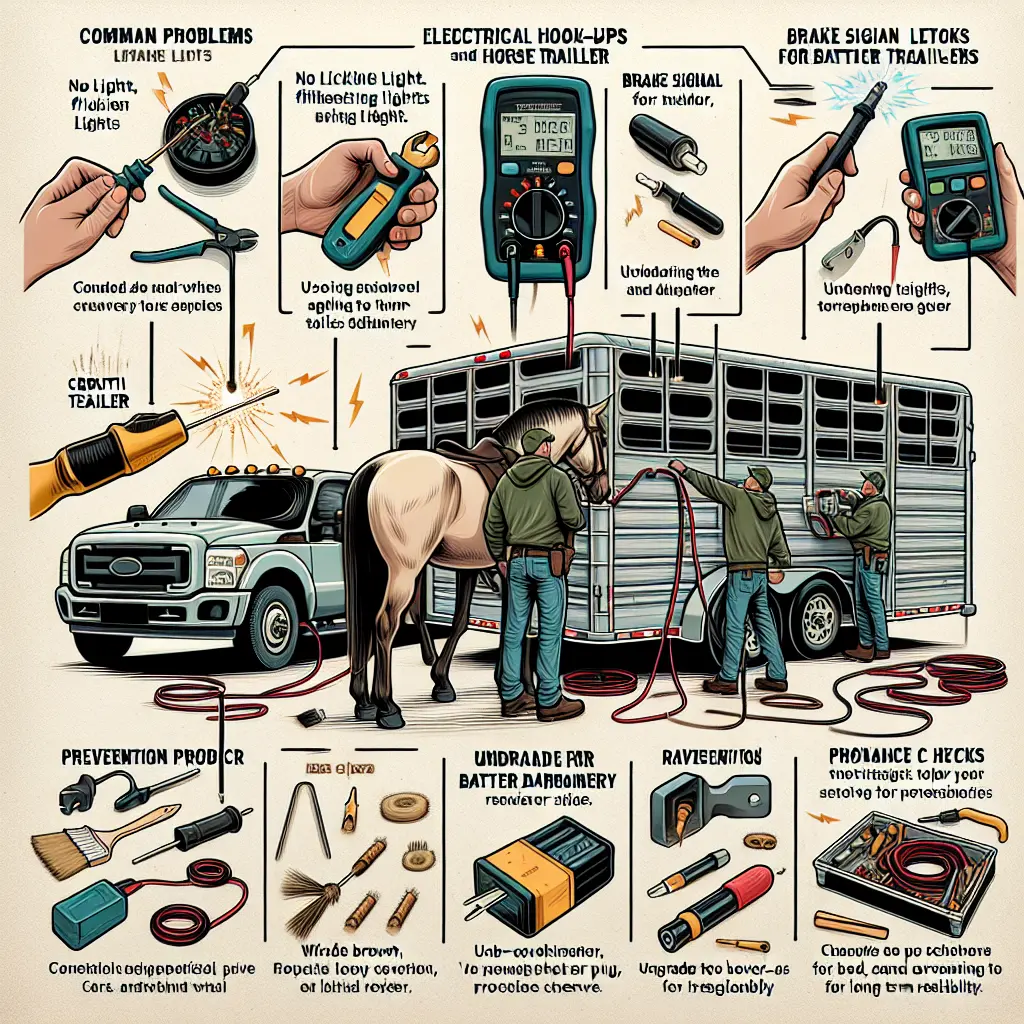
Essential Tools for Troubleshooting
Don't worry, you don't need a degree in electrical engineering. Basic tools can solve 90% of trailer issues:
- A circuit tester or multimeter for voltage and continuity checks.
- A test light helps in quickly assessing pin functions.
- Use wire brushes and dielectric grease to ward off corrosive damage.
Step-by-Step Troubleshooting Guide
Ready to dive into the world of trailer electrics? Here's a foolproof plan to identify and tackle issues.
Step 1: Check the Towing Vehicle (Truck) Side First
Most problems start at the truck-side connection. Plug in a truck trailer plug tester and inspect all connections. No voltage? Pop your truck's hood to check those fuses or wiring. And remember, ground quality is king!
Step 2: Inspect the Plug and Connections
Cleaning is essential. Give those pins a good scrub and apply some dielectric grease to fend off moisture for another couple of years.
Step 3: Test the Trailer Side (Unplugged)
Use a jump box or 12V battery, and test each function. No luck? You might need to check trailer fuses or even test the breakaway battery.
Step 4: Diagnose Specific Lights
Got a rebellious single light? Test and clean its socket. Most single-light failures stem from grit sneaking its way into places it shouldn't.
Step 5: Advanced Checks and Grounds
Trailer grounds frequently go bad. A solid chassis connection is crucial to keep the lights on!
Repairs: Fixing the Problems
Once diagnosed, repair can be straightforward:
- Replacing wires: Always opt for 14-16 gauge, with heat-shrink connectors for waterproofing.
- New sockets/bulbs: Consider LED upgrades for longer life.
- Full rewiring: For older trailers, full rewiring is recommended for long-term peace of mind.
Prevention Tips for Long-Term Reliability
If you're itching to avoid future hassles, follow these steps:
- Inspect the systems monthly.
- Store unused plugs indoors.
- Consider professional annual checks.
Adopting these measures can reduce electrical failures by up to 95%, ensuring your horse travels are both safe and uneventful. By following these troubleshooting and prevention strategies, you're looking at significant savings and ensuring safe journeys for your precious cargo—your horses.
Explore some exciting horse supplements to ensure their health and vitality on the road.